
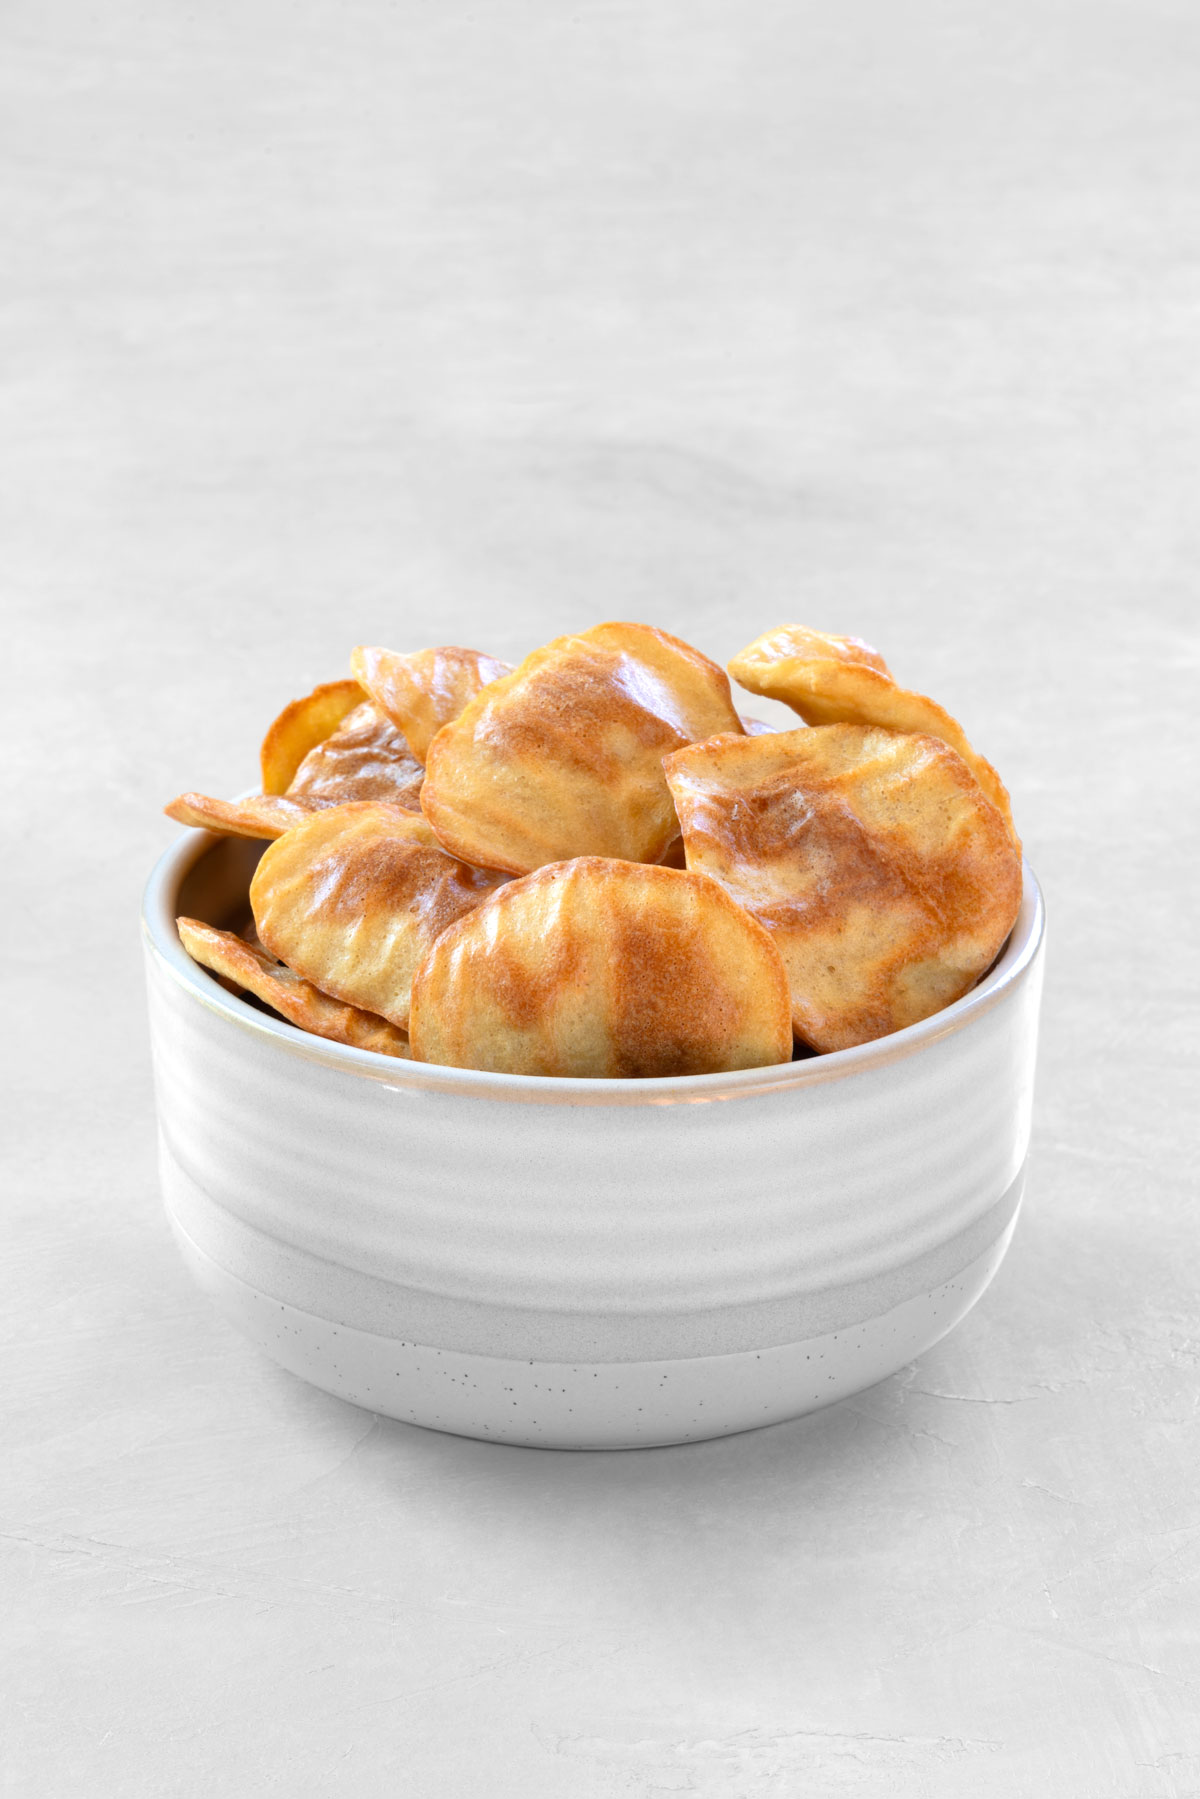
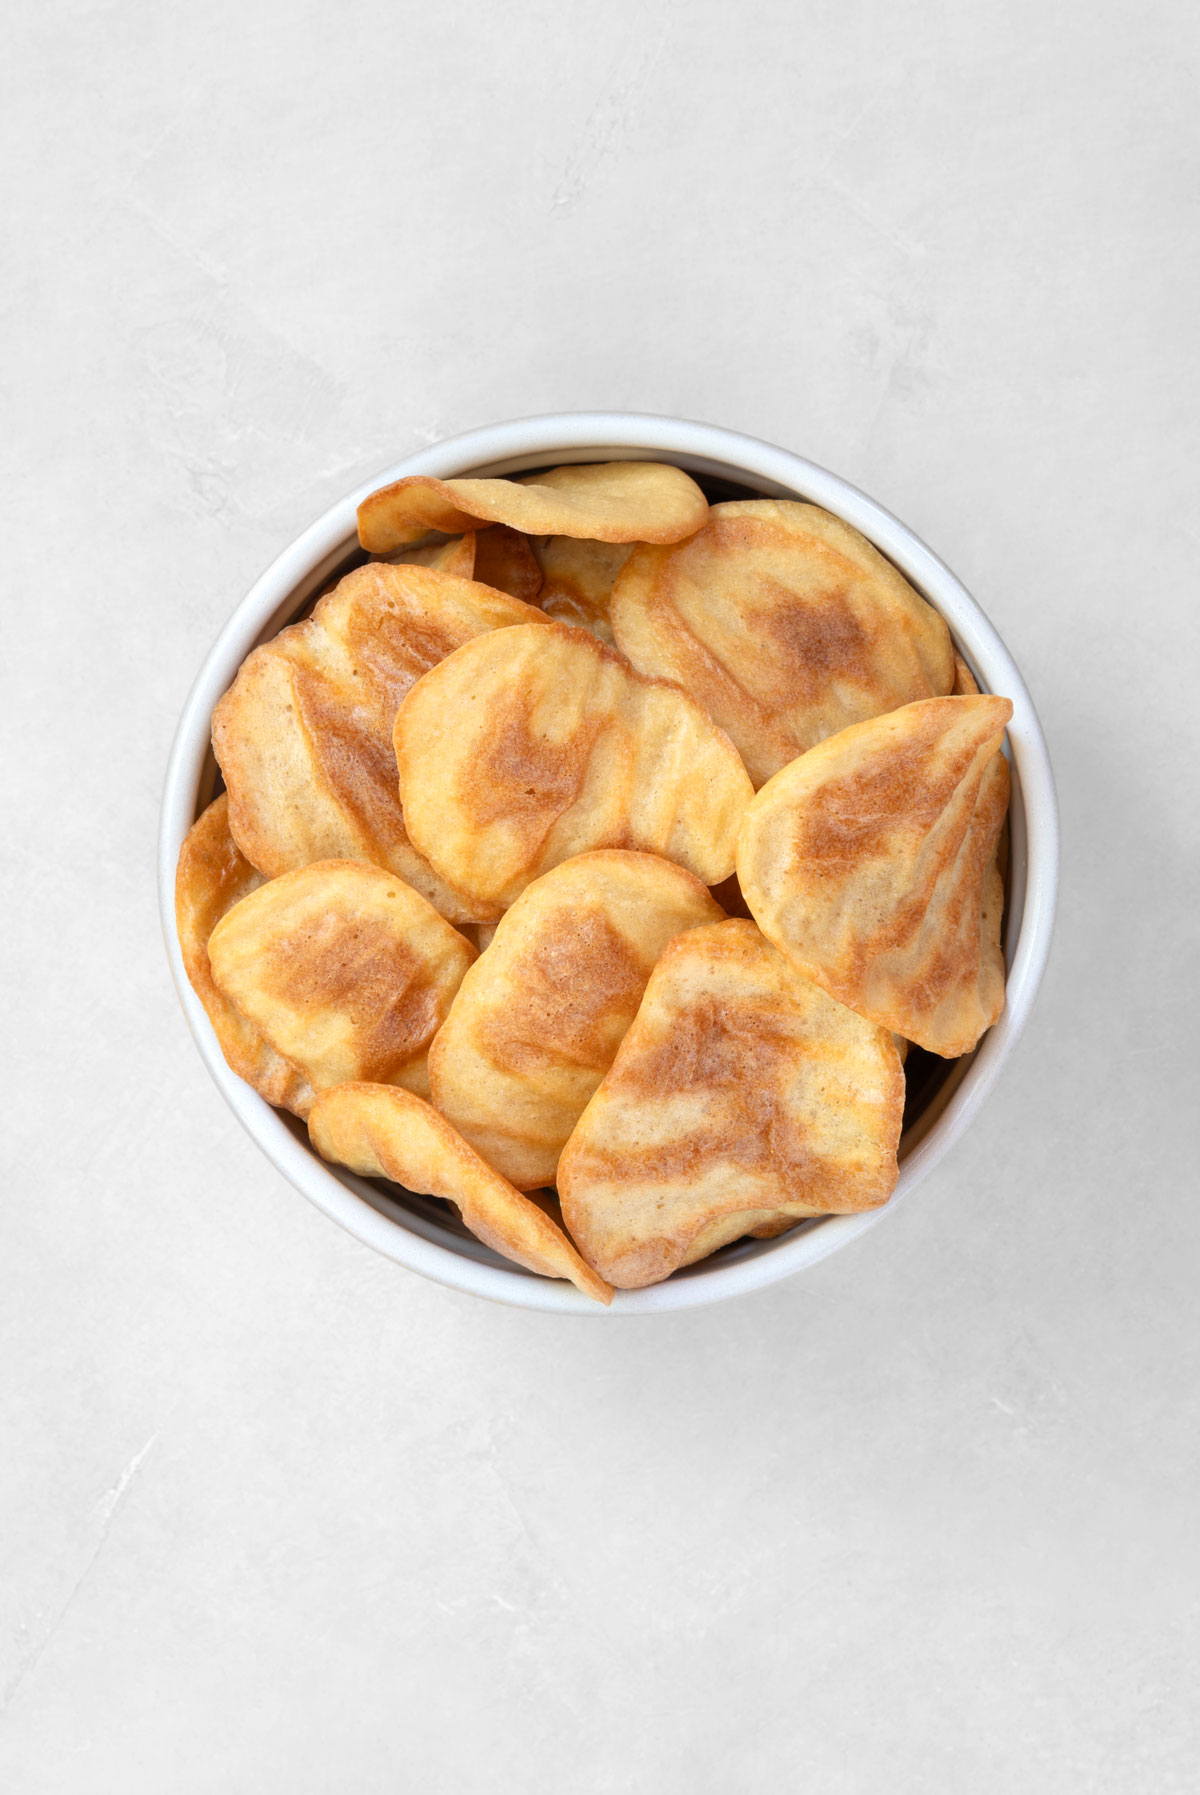
Chickpea Chips {Video}
Chickpea chips are the perfect alternative to regular potato chips or corn chips. They are flavorful with a texture that is spot on – sturdy enough for scooping up dips yet delicately crisp. These homemade chickpea chips are vegan (dairy-free, egg-free), grain-free (gluten-free), soy-free, nut-free, and refined sugar-free.
In today’s fast-paced world, finding snacks that are both convenient and nutritious can be a challenge.
High-protein snacks have been my go-to lately because they increase satiety and help maintain energy levels throughout the day.
So, you can imagine my excitement when I discovered Chickpea Chips by the brand Le Pain des Fleurs in my local health food store. The chips were labeled vegan, gluten-free, nut-free, organic—everything you could wish for. However, a quick glance at the ingredients list revealed ingredients such as sunflower oil and added starches. Ugh. Definitely a disappointment.
Many store-bought chickpea chips, including those from well-known brands, often contain many ingredients. While some of these additives might enhance flavor or texture, they also detract from the simplicity and health benefits of chickpeas. Starches and oils, in particular, can add unnecessary calories and diminish the nutritional value of the chips.
This sparked an idea: why not create my own chickpea chips using simple, wholesome ingredients? That’s precisely what this recipe is: chickpea chips made entirely from raw chickpeas!
Tips for Making Chickpea Chips
Ingredients
Just like veggie chips are made entirely from vegetables, these chickpea chips are made from chickpeas. The ingredient list couldn’t be simpler:
- Chickpeas: while you could use chickpea flour (also called garbanzo bean flour) to make these chickpea chips, I prefer starting with raw chickpeas and soaking them first. If I have sprouted chickpeas on hand, I use those to increase the nutritional value of these chips even more. I tested this recipe with yellow lentils and got equally good results, so I imagine you could substitute the chickpeas for other legumes.
- Salt: chips, in my opinion, shouldn’t taste like much of anything. They should be salty, yes, but rich cheesy garlic bread? Or hot honey? I never really understood all the flavors chips come in nowadays. The only seasoning you need in this recipe is salt, but feel free to add garlic powder, onion powder, or chili powder if you’d like.
How to Make Chickpea Chips
Even though these chips are baked as opposed to fried, they come out so light and crispy. I like to think of this recipe in four parts:
- Soak the chickpeas. Add the dry chickpeas to a bowl, cover them with water, and let them soak for 8-12 hours. Once soaked, drain the soaking water and rinse the chickpeas.
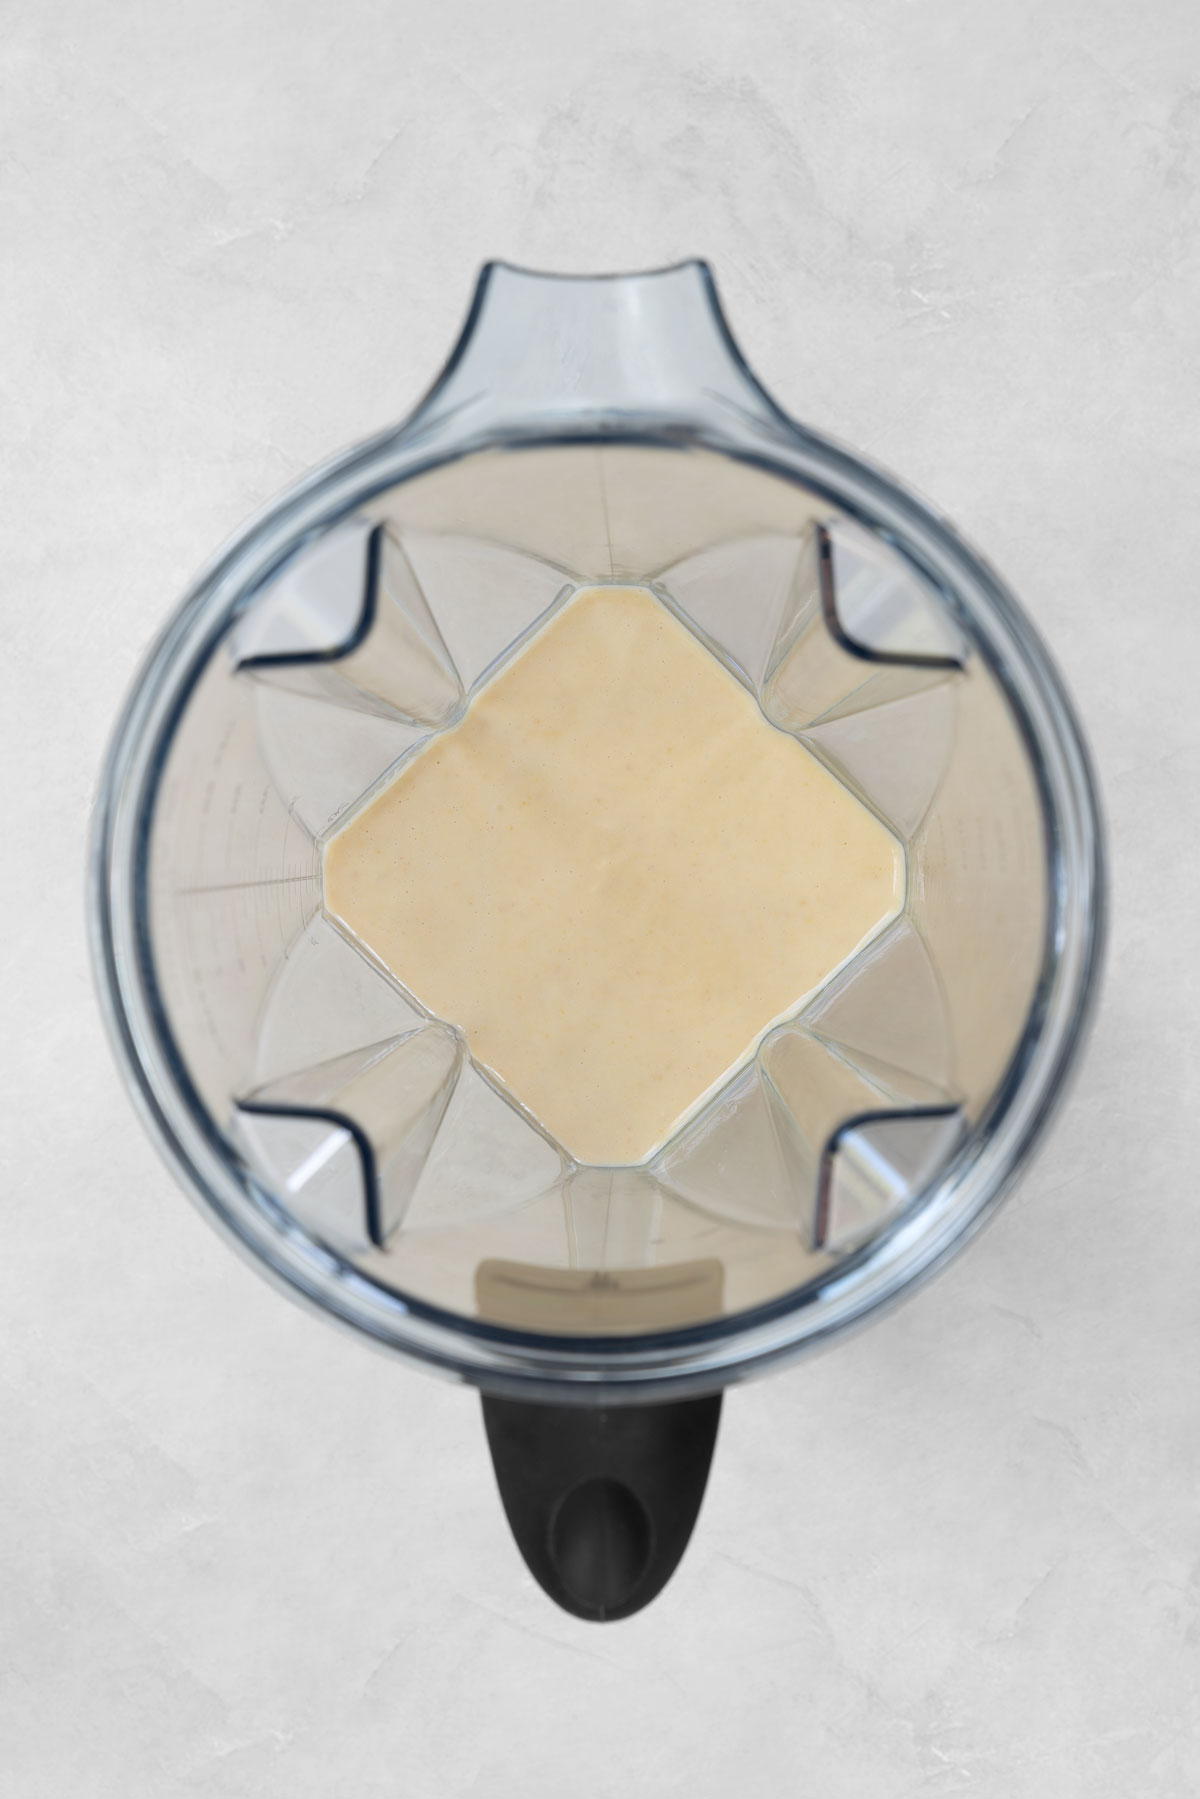
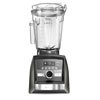
- Blend. Add the soaked chickpeas to a high-speed blender together with the water and salt, and blend until smooth. The batter should be thin enough to pour and spread easily but thick enough to hold its shape on the griddle.
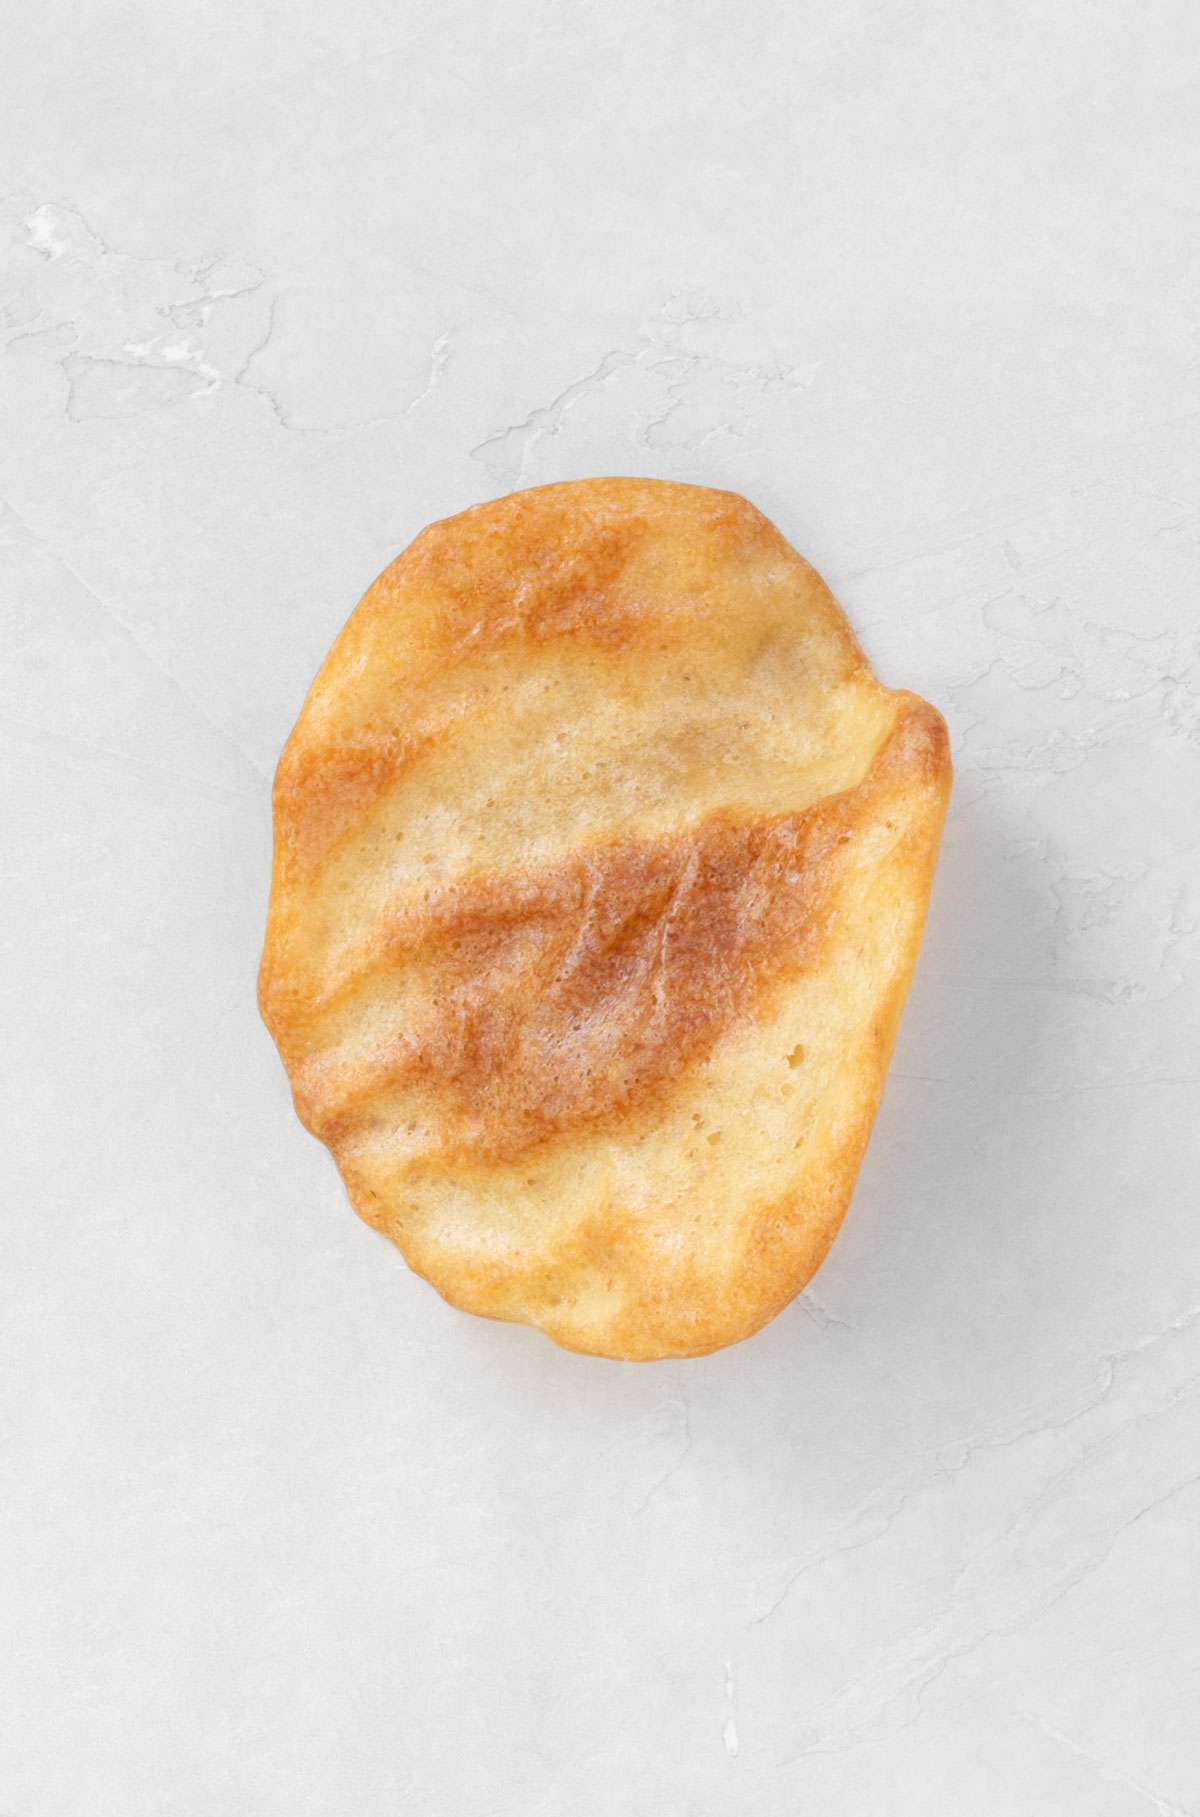
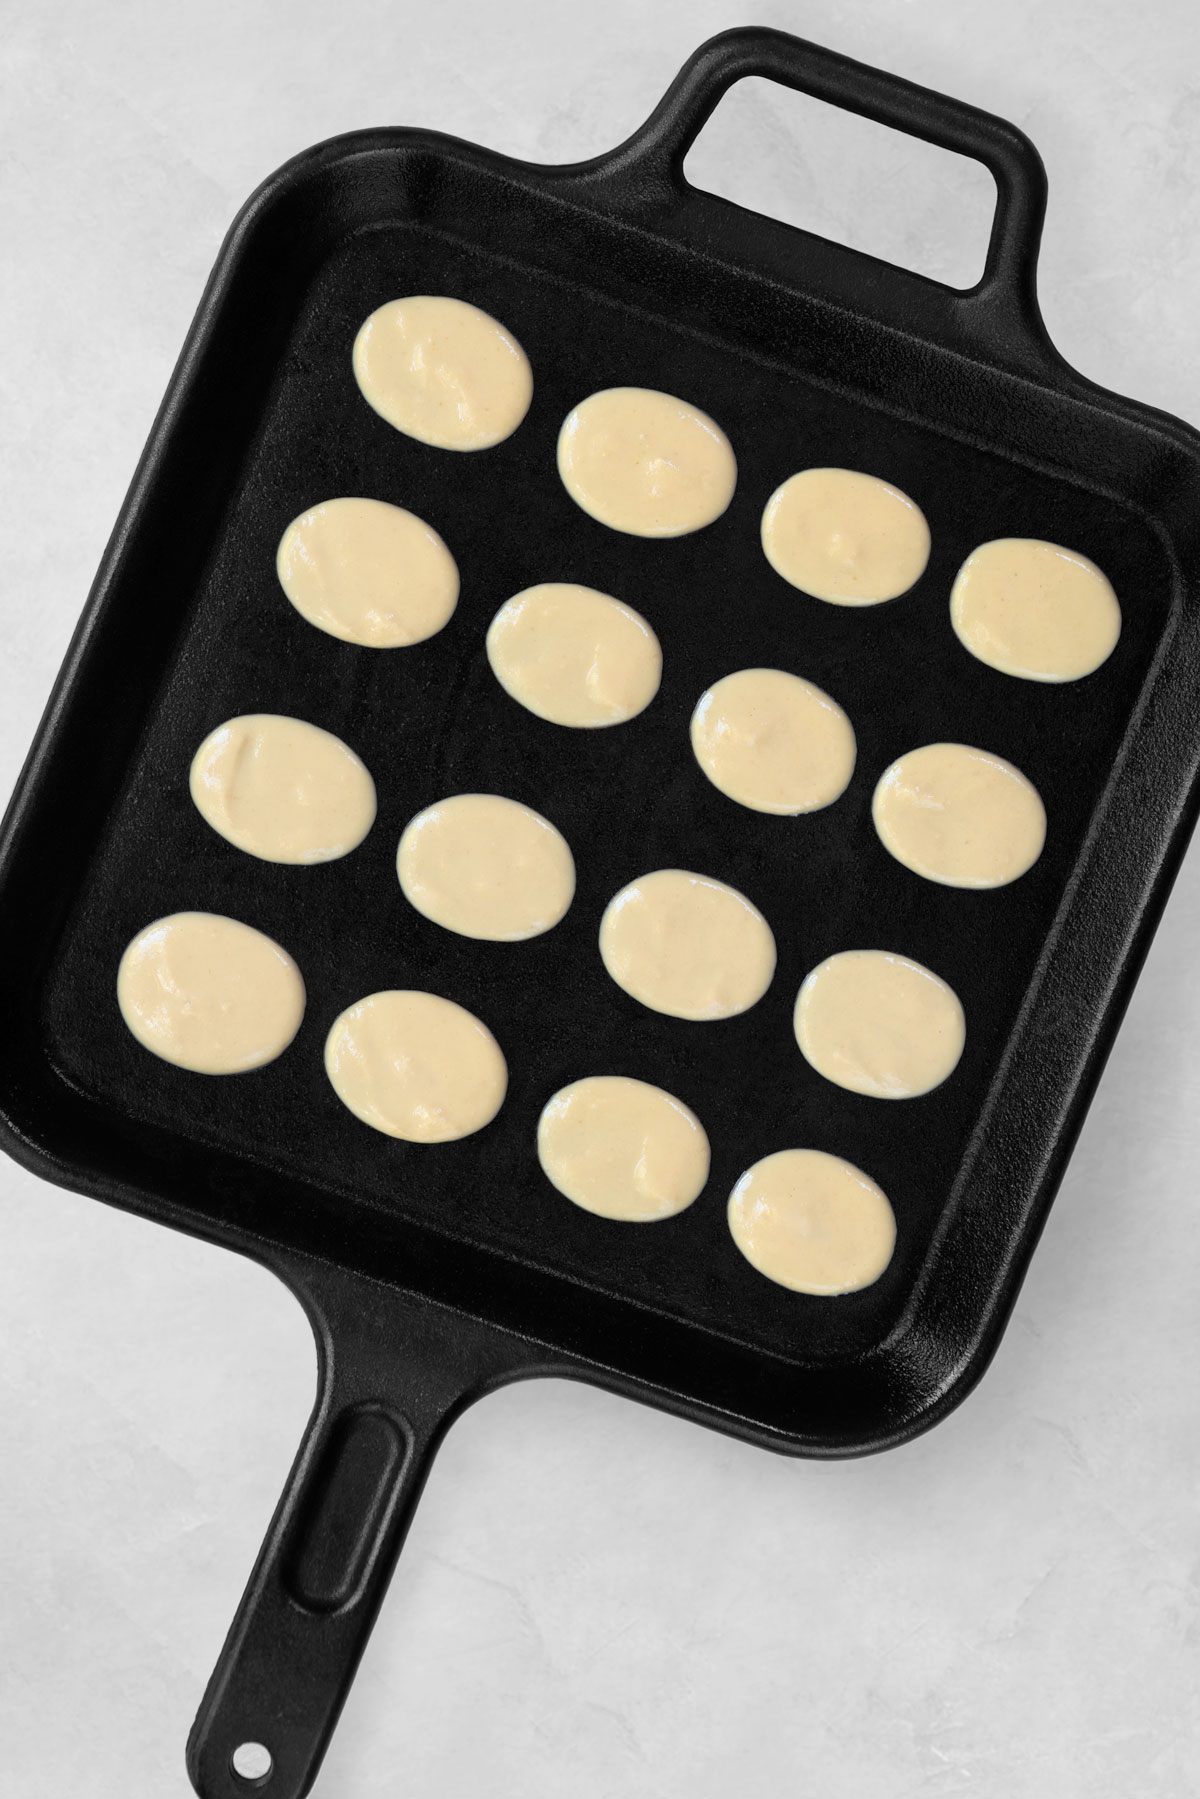
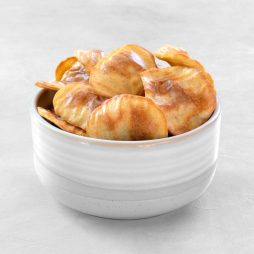
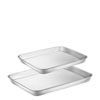
- Spread. Using a spoon, spread ~ 1 tsp./5 ml of the batter into an oval or round shape, about 1.5 in/3.8 cm in diameter, onto a parchment paper-lined baking sheet. The shape should resemble the shape of a potato chip. Note: I initially used a cast-iron griddle to bake the chips (as you can see in the photo). However, I find that while a well-seasoned cast iron griddle works, parchment paper gives the chickpea chips a more authentic, ruffled look as the parchment paper crinkles underneath the batter.
- Bake. Slide the baking sheet into the oven and bake the chips at 356ºF/180ºC until the chips begin to show a sign of browning, for about 15 minutes. Then flip each chip and bake them until crispy and golden brown, for 10-12 more minutes. Keep an eye on the crackers, as the edges may begin to burn if left in the oven for too long. If the chips aren’t fully crispy after baking (it can happen if the batter was not spread out thinly enough), leave them in the warm oven to thoroughly dehydrate.
How to Serve Chickpea Chips
These chickpea chips are delicious on their own, but you can also serve them with hummus, guacamole, salsa, or any other dip you like.
They also make a great addition to vegan charcuterie boards, adding a crunchy gluten-free option alongside vegan cheese ball, olive tapenade, roasted nuts, and fresh fruit.
You can even crumble these chickpea chips over salads for an extra crunch or use them as a base for nachos.
No matter how you choose to enjoy them, these high-protein chips are sure to be a hit at any gathering!
How to Store Chickpea Chips
- Storing at room temperature: transfer the chickpea chips to an airtight container and keep them in a cool, dry, dark place for up to 1 week.
- Freezing: transfer the chickpea chips to an airtight container and freeze them for up to 3 months.
More Healthy Chips Recipes
- Brussels sprout chips: Brussels sprout chips are a creative way to turn Brussels sprout leaves into a healthy and satisfying snack. They are salty, crispy, and highly addictive. Trust me; you’ll want to make a big batch of these!
Chickpea Chips
Ingredients
- 1 cup (200 g) dry chickpeas*
- 3/4 cup (180 ml) water
- 1/2 tsp. (2.9 g) salt
Instructions
- Preheat the oven. Arrange a rack in the middle of the oven. Heat the oven to 356°F/180°C.
- Soak the chickpeas. Add the dry chickpeas to a bowl, cover them with water, and let them soak for 8-12 hours. Once soaked, drain the soaking water and rinse the chickpeas.
- Blend. Add the soaked chickpeas to a high-speed blender together with the water and salt, and blend until smooth. The batter should be thin enough to pour and spread easily but thick enough to hold its shape on the baking sheet.
- Spread. Using a spoon, spread ~ 1 tsp./5 ml of the batter into an oval or round shape, 1.5 in/3.8 cm in diameter, onto a parchment paper-lined baking sheet.
- Bake. Slide the baking sheet into the oven and bake the chips at 356ºF/180ºC until the chips begin to show a sign of browning, for about 15 minutes. Then flip each chip and bake until crispy and golden brown, for 10-12 more minutes. Keep an eye on the crackers, as the edges may begin to burn if left in the oven for too long. If the chips aren't fully crispy after baking, leave them in the warm oven to thoroughly dehydrate.
- Store. Leftover chickpea chips keep well in an airtight container in a cool, dry, dark place for up to 1 week. For longer-term storage, freeze in an airtight container for up to 3 months.
Thank you! Please share the substitute for this recipe using canned chickpeas. I really appreciate it.
Hi Linda – the dry chickpeas are essentially a substitute for chickpea flour, made by grinding dry chickpeas. I have never tried making chickpea chips using canned chickpeas because those are already cooked.
Just made these. They are far better than potato chips! I used parchment paper and got the lovely ruffles you were talking about in the video. Thank you for sharing this recipe.
Wonderful! I am so happy to hear that, Rachel.
Do you think canned chick peas would work?
Hi Suzanne – since canned chickpeas are already cooked, I think that the recipe would require some tweaking. I used dry chickpeas because I knew that chickpea flour (= ground dry chickpeas) works great in breads and crackers. Somebody else has asked me the same question as you, though, so I should try it.
Can leftover batter be refrigerated to bake later?
Hi Judy – yes! I have done it a few times.