
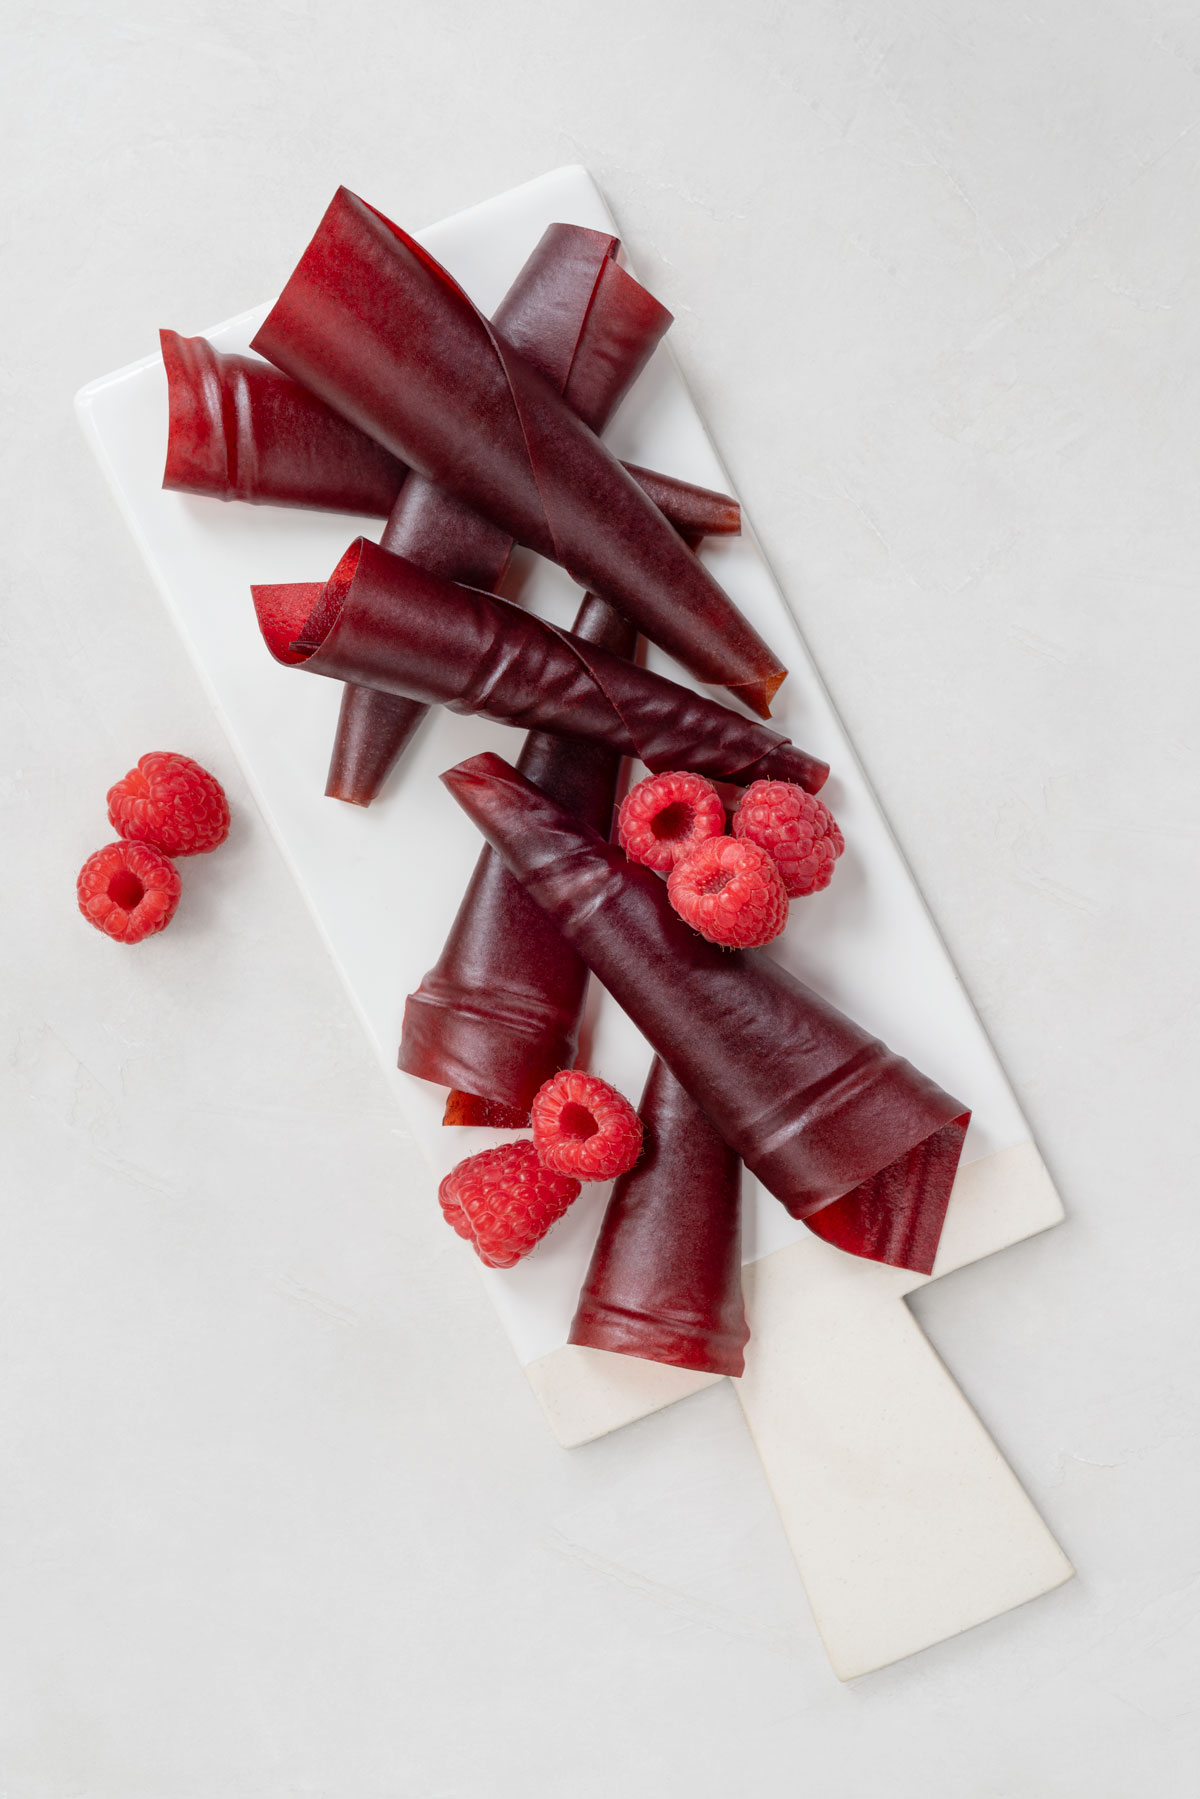
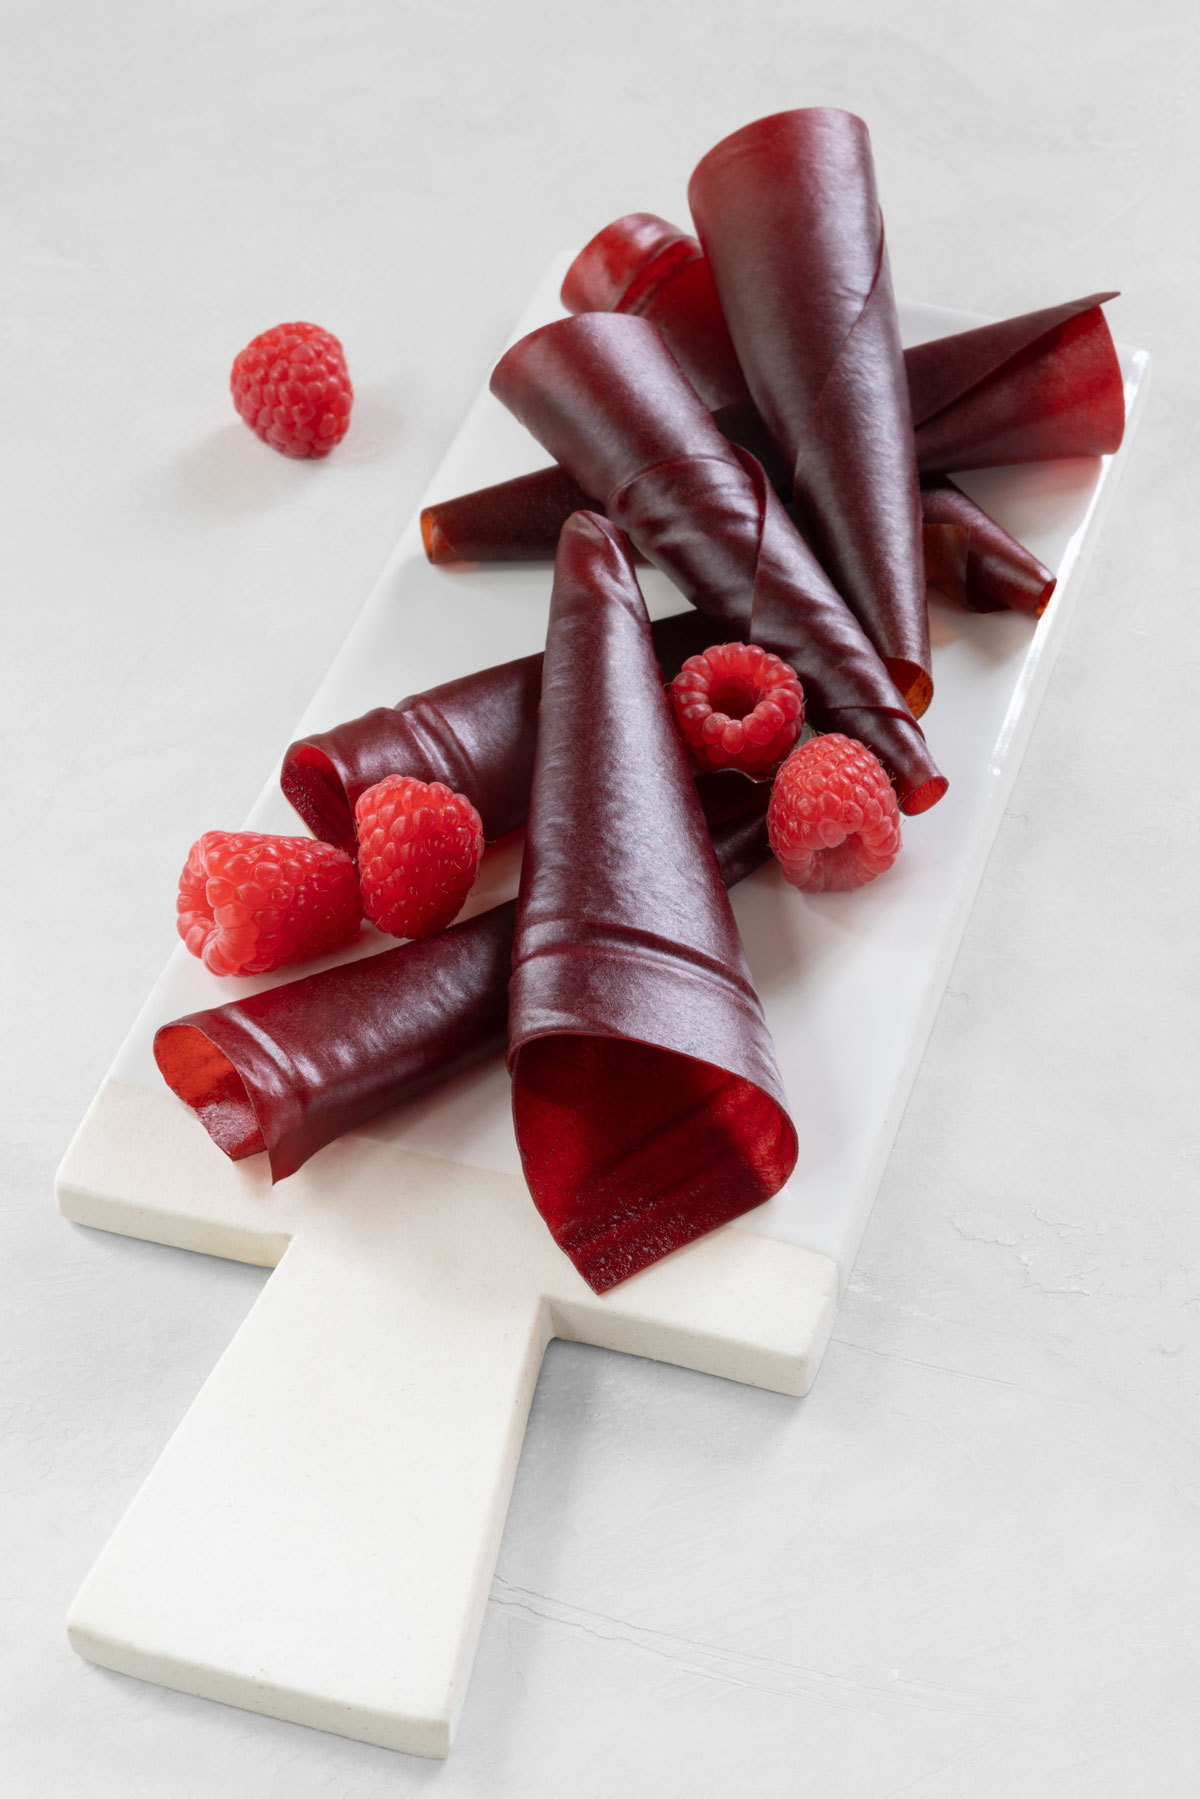
Fruit Roll Ups
Homemade fruit leather and fruit roll-ups are a fun, fruity snack made entirely from fruit. It’s a highly upgraded version of the processed fruit leather roll-ups you may have enjoyed from the store as a kid. No sugar added, and no boiling needed. The recipe is vegan (dairy-free, egg-free), grain-free (gluten-free), soy-free, nut-free, and refined sugar-free.
Fruit Leather vs Fruit Roll-Ups
Is fruit leather the same as fruit roll-ups? Yes and no.
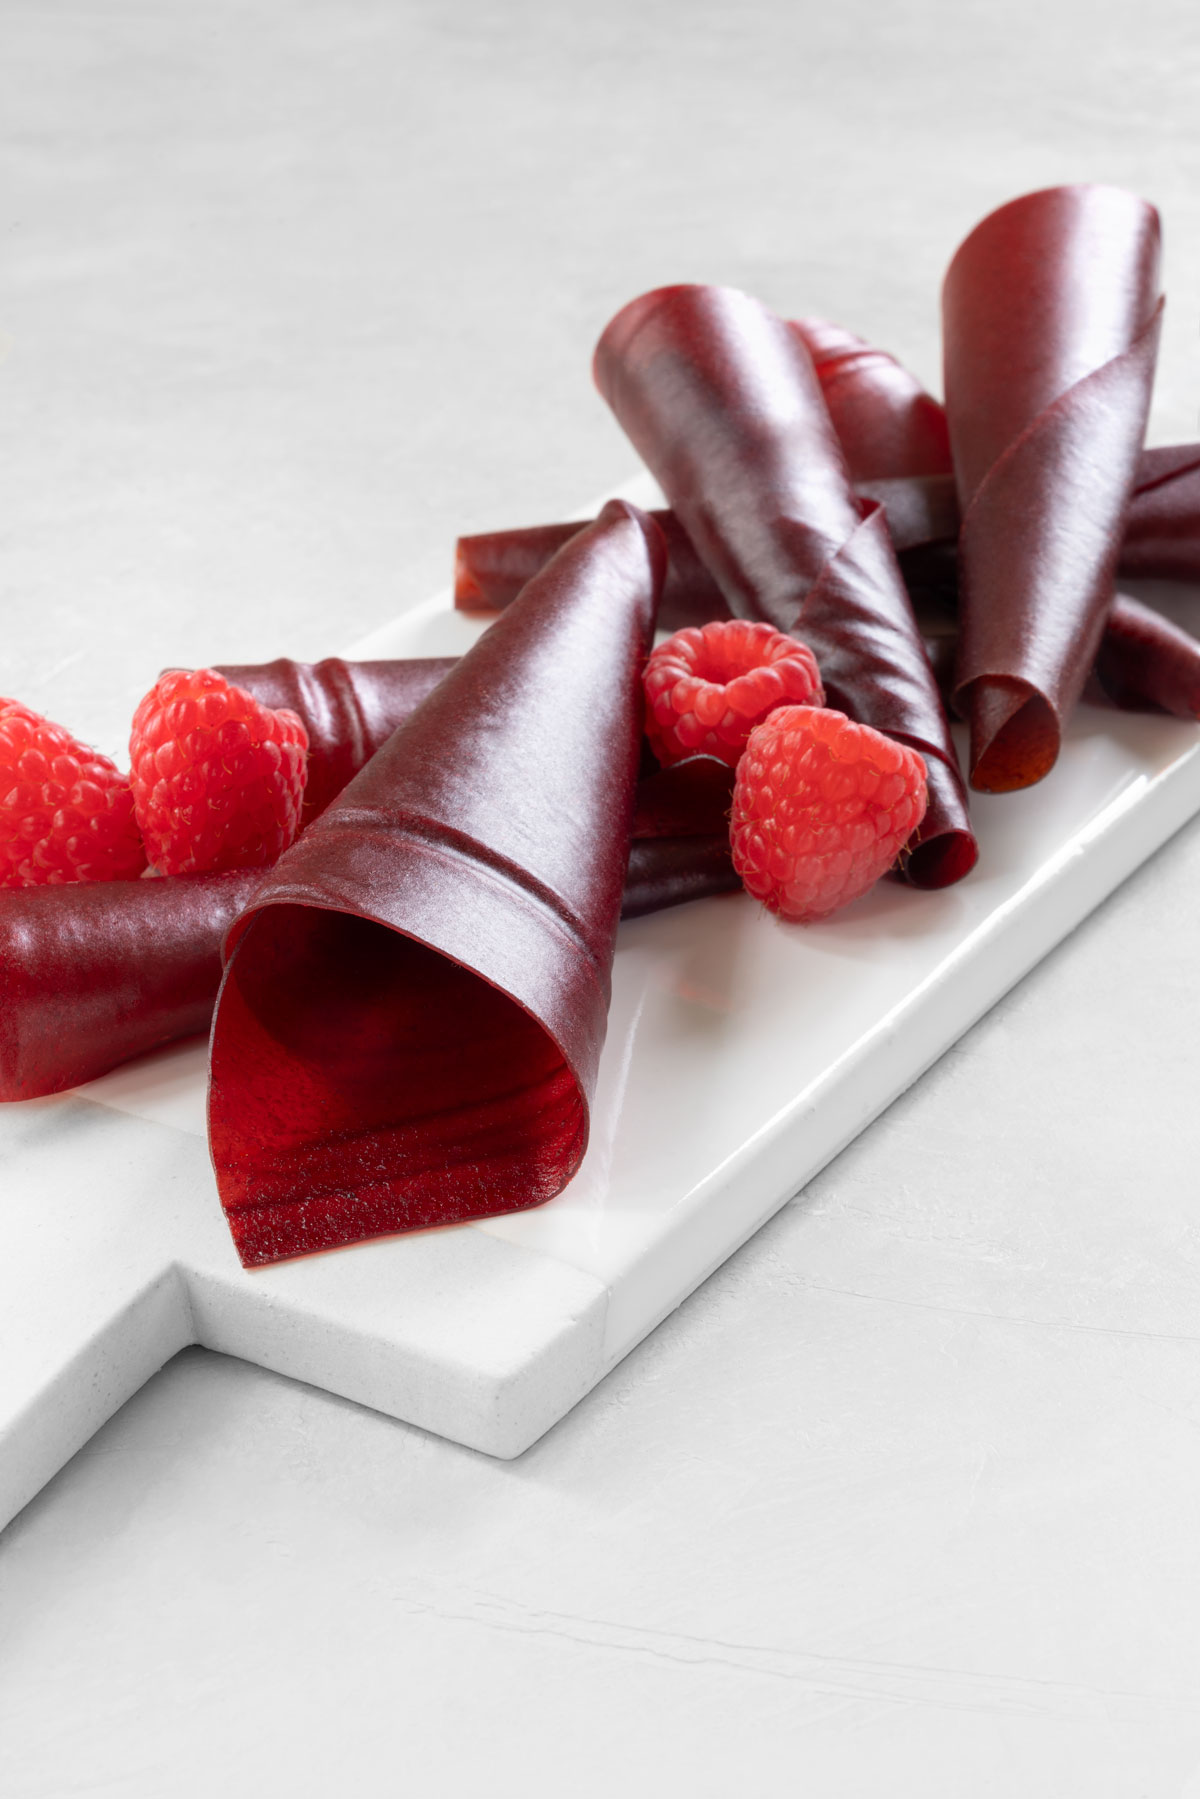
Fruit leather and fruit roll-ups use the same ingredients and method of making. However, fruit leather is thicker and cut into strips or squares, while fruit roll-ups are thinner and then rolled.
The recipe below can be used for either fruit leather or fruit rolls. When making the leather, simply start with a thicker layer of fruit puree to begin the dehydration process versus a thin layer for the roll-ups.
What I love most about homemade fruit roll-ups is that unlike the store-bought version, they are free from refined sugar, dyes, and preservatives—they are just fruit.
Tips for Making Fruit Roll Ups
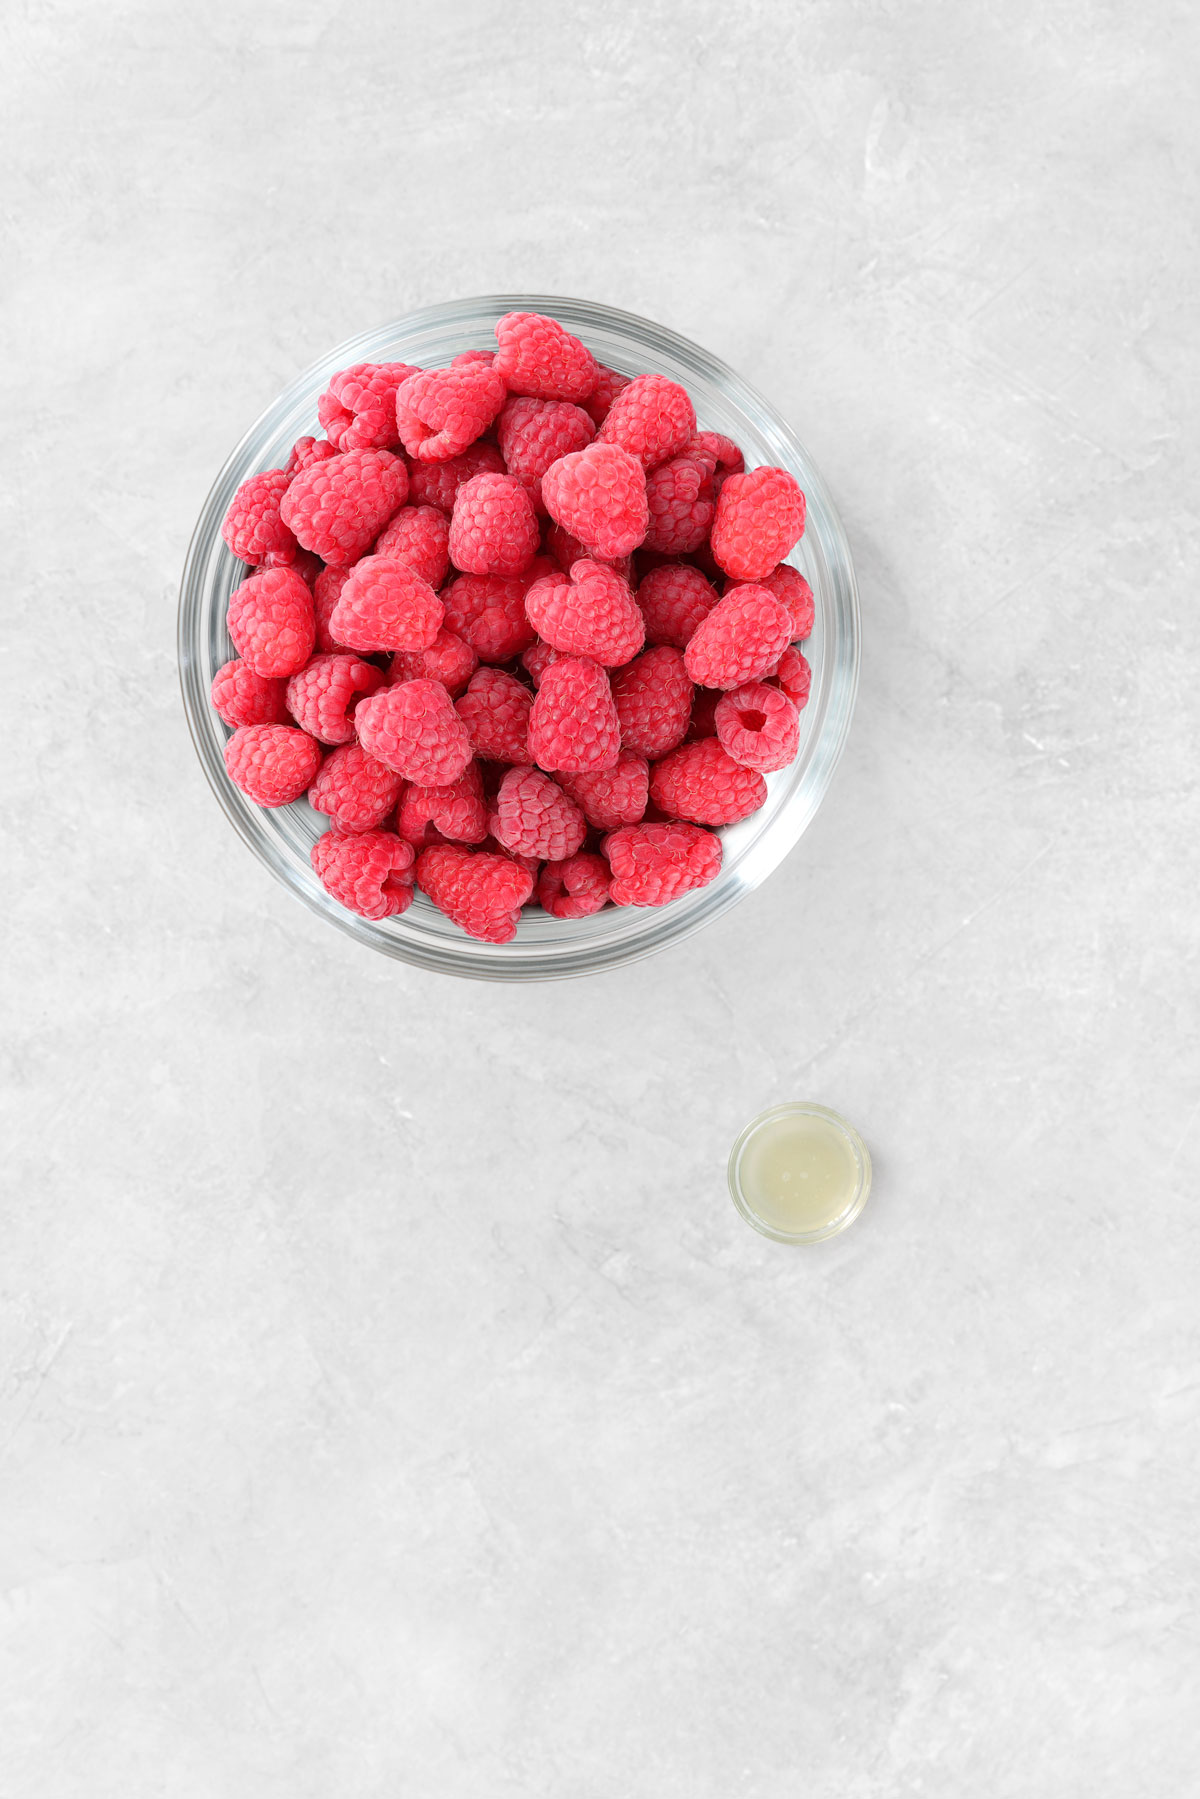
Ingredients
The best thing about making fruit roll-ups at home is that you can use any fruit or a fruit combination you like! Here’s what you’ll need:
- Fruit: I used raspberries for this particular recipe, but the combination of strawberries and apples is my favorite. You could also use apricots, blackberries, blueberries, cherries, mangoes, peaches, plums, or a combination of different fruits. The sky is the limit! I try to use fruit that is in season because it’s usually the most flavorful.
- Lemon juice (optional): some fruits, such as apples, apricots, and bananas, contain an enzyme called polyphenol oxidase (PPO), which reacts with oxygen in the air and causes browning. The acidity of lemon juice keeps the color of the fruit nice and bright. Another option is to mix fruits that easily discolor with other fruits, e.g., mixing bananas with strawberries.
- Maple syrup (optional): this fruit leather is sweetened with 100% fruit. Whether you add a sweetener will depend on the fruit you use (and your taste). Of course, the sweeter the fruit, the less likely you’ll actually need any sweetener. I find most late-summer fruit naturally sweet enough, so I rarely use a sweetener, but it’s up to you. Just keep in mind that flavors and sweetness intensify after drying, so less is often more.
How to Make Fruit Leather and Fruit Roll-Ups
Many fruit roll-up and fruit leather recipes require simmering the fruit on the stove first. This recipe is different because the fruit roll-ups are made from fresh (uncooked) fruit. However, if you’d like to reduce the drying time, you can boil the fruit for 5-10 minutes after puréeing to allow some of the liquid to evaporate. This step can cut your baking time roughly in half
I decided to make raspberry roll-ups, but the process below will work for any fruits listed above.
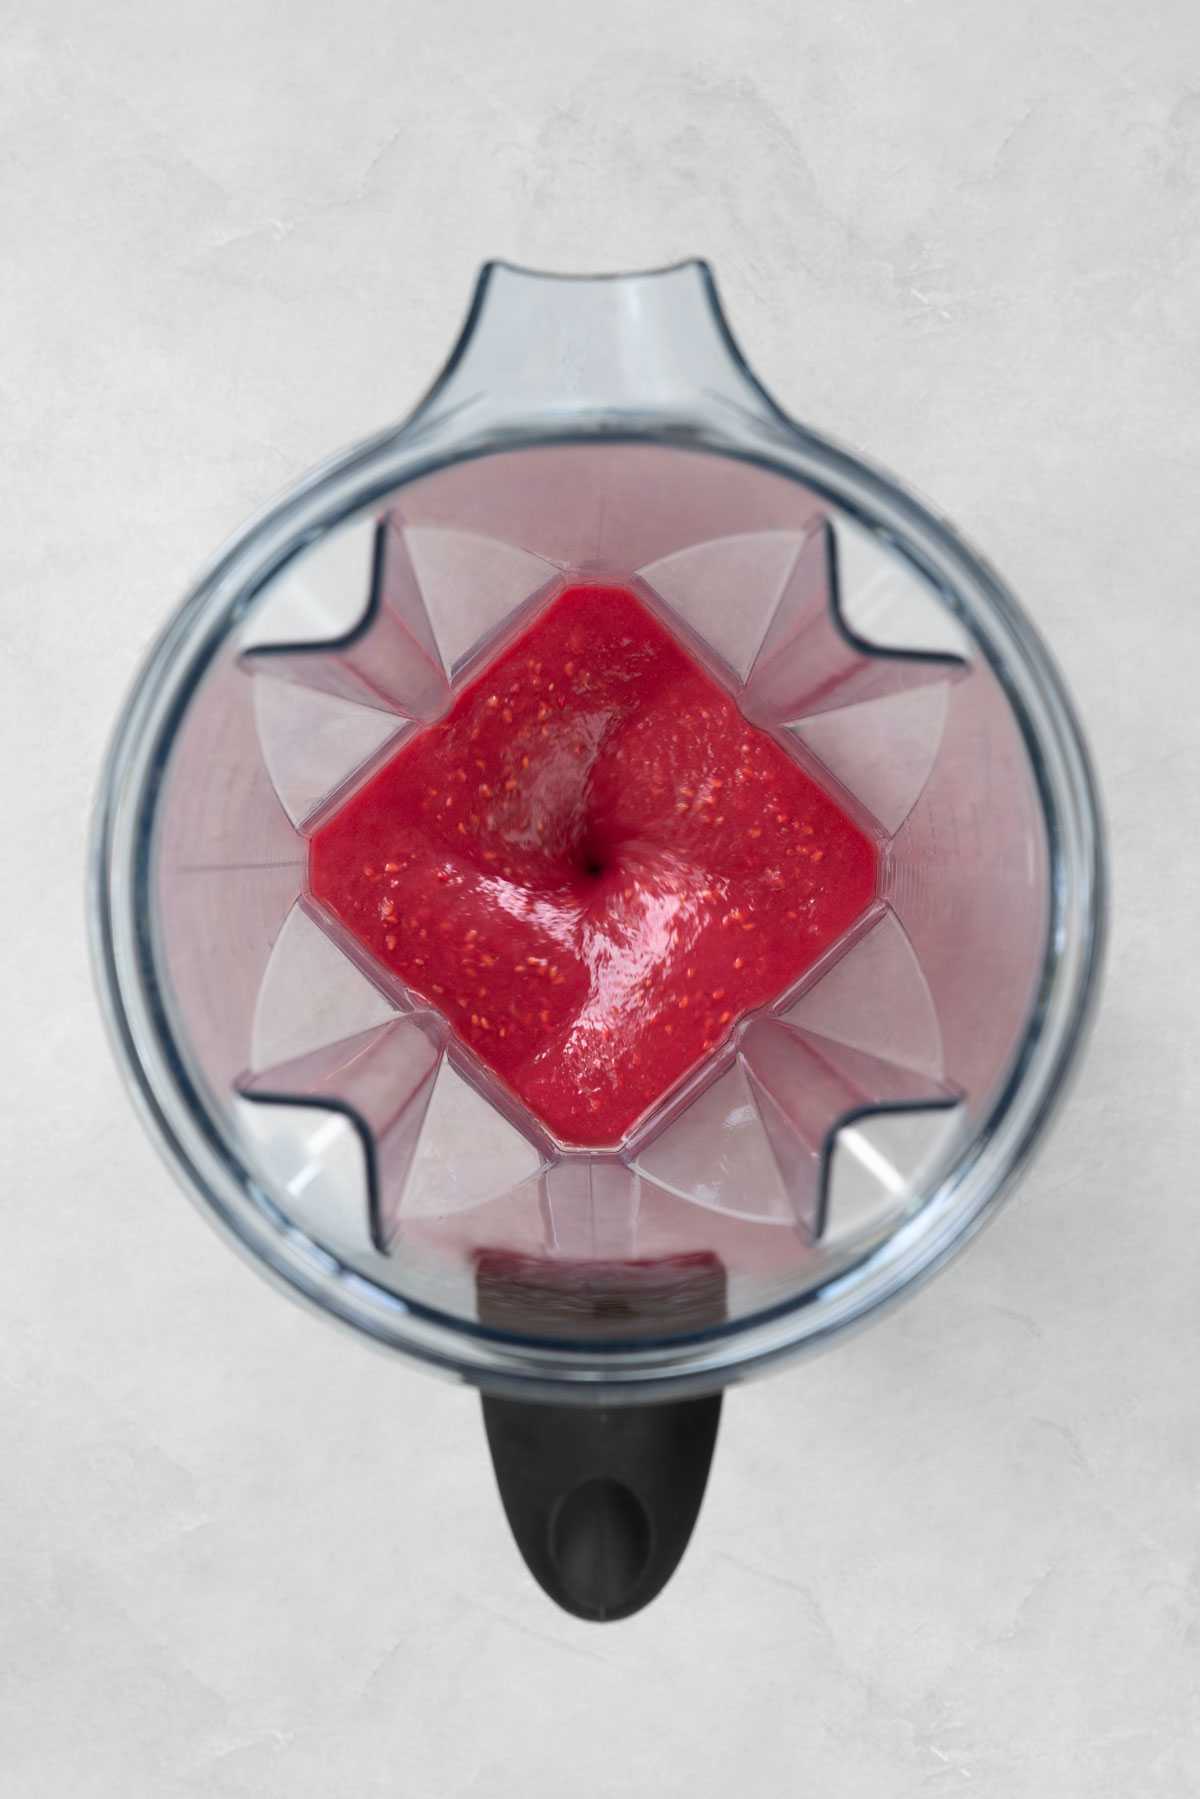
- Blend the fruit. Add the fruit to a high-speed blender and blend on high until completely smooth.
- Strain the fruit purée (optional). If you’re blending fruit with a lot of seeds, such as raspberries or blackberries, use a fine mesh strainer to strain it. If you don’t mind the seeds and want to keep them for extra fiber, you can skip this step.
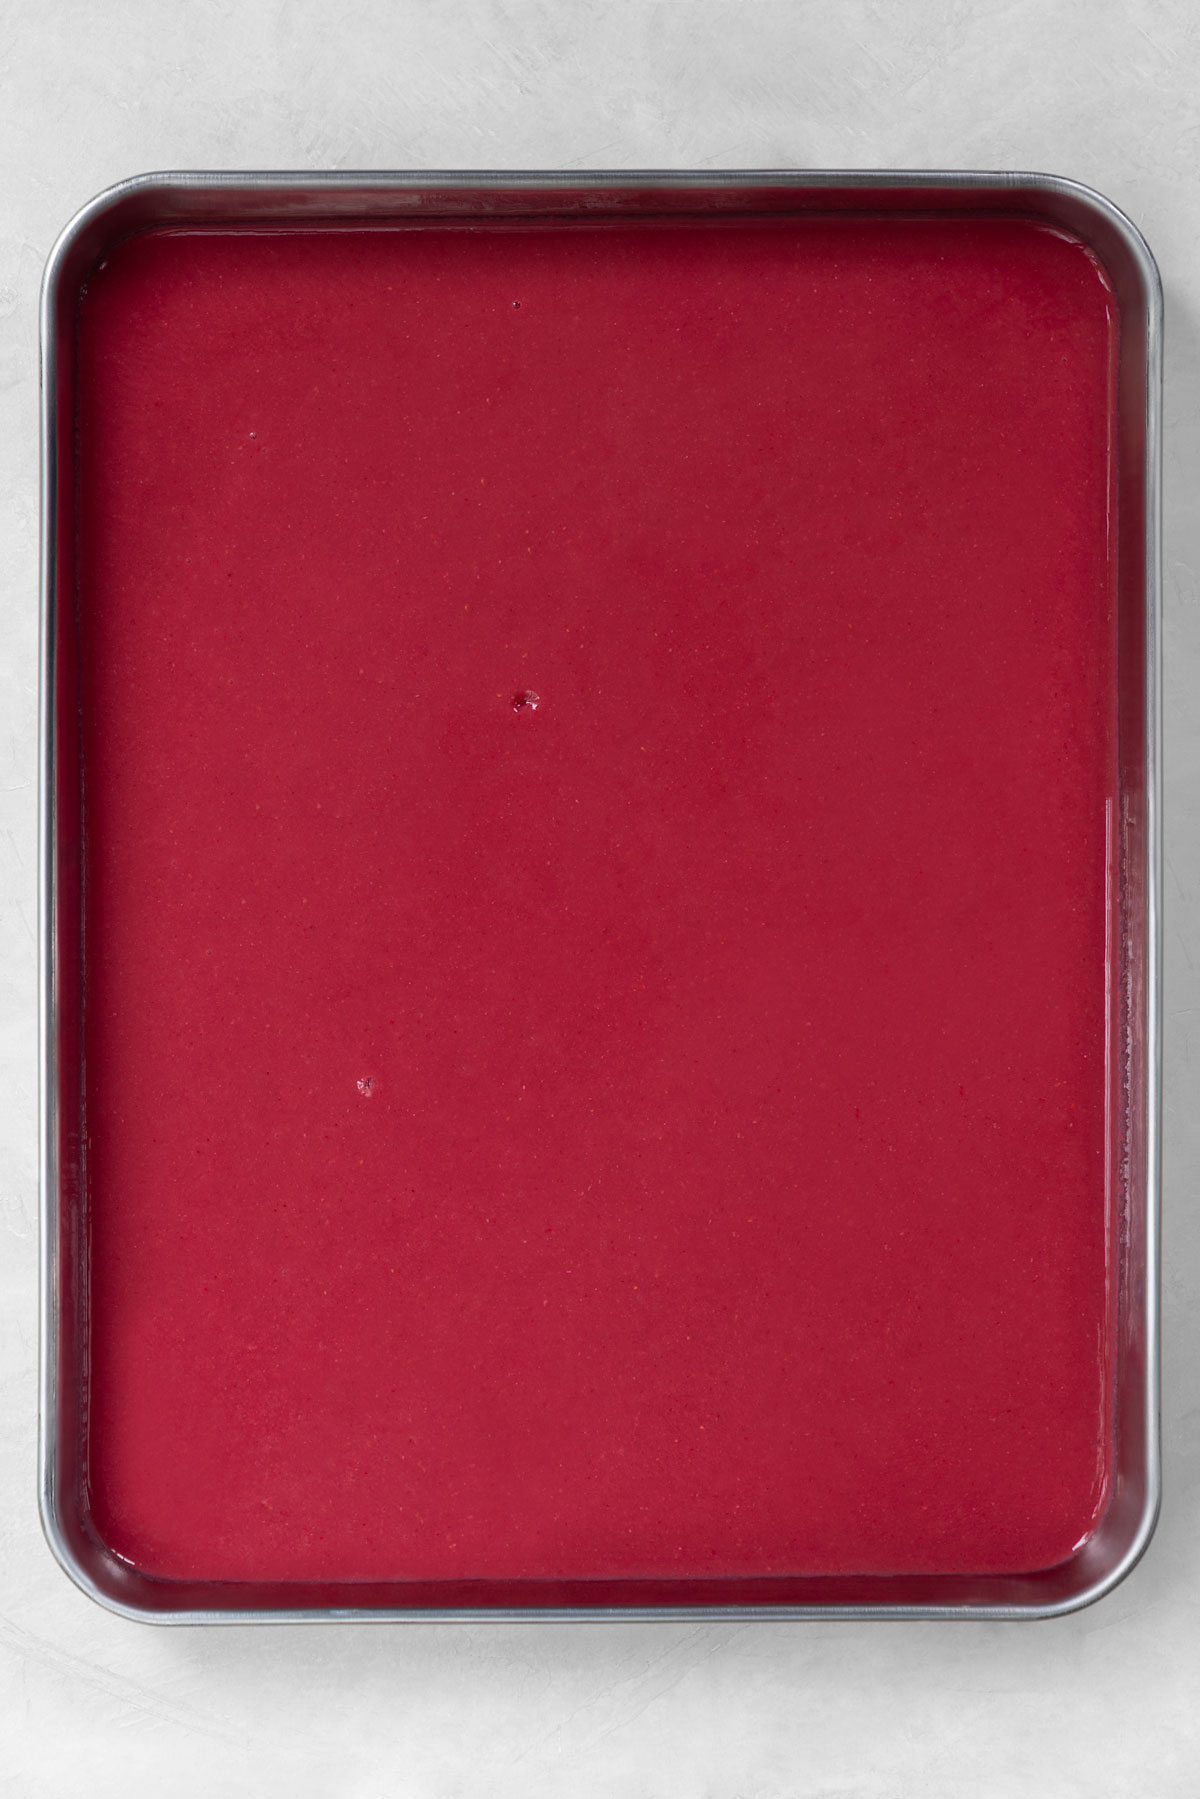
- Spread the fruit mixture. Pour 1 cup/240 ml of the fruit mixture on a dehydrator sheet into a ⅛-inch/0.3-cm thin layer. (If your dehydrator comes with a tray with a rim for liquidy foods, use it.) You can tilt the tray and/or use an offset spatula to make the layer as even as possible. You can spread the fruit mixture into a thicker ¼-inch/0.6-cm layer, but that’s best for fruit strips rather than rolls. If you don’t own dehydrator sheets, a silicone mat works better than parchment paper. The fruit purée is quite runny, which causes the parchment paper underneath to crease and makes the fruit leather crinkly and uneven in places. Do not use foil—the fruit leather will stick!
- Dehydrate. Set the dehydrator to 140ºF/60ºC and allow the fruit leather to set and dry, for 7-12 hours. You can test if the fruit leather is done by touching the center. It should feel dry or very subtly tacky but not sticky, and it should be pliable. Be careful not to overdry it, or it will become crispy and won’t roll. If the edges look like they’re getting crispy, you can cut those off later or brush them with a little water or juice during the baking process to rehydrate.
- Bake (if not using a dehydrator). The most economical way to make homemade fruit leather or fruit roll-ups is to use a dehydrator. If you don’t own a dehydrator, set your oven to the lowest temperature possible – some ovens even come with a dehydrator setting. Temperatures between 135-150ºF/57-65ºC are ideal, though up to 170-180ºF/75-80ºC will work too. Avoid any temperatures above 200ºF/95ºC, though. The time to make fruit leather in the oven will vary based on the temperature and how thick your fruit puree is on the tray. As a general guideline, expect it to take between 8-12 hours at 140ºF/60ºC, 5-8 hours at 150ºF/65ºC, and 3-5 hours at 170ºF/75ºC. If the oven doesn’t go low enough, crack open the oven door and use a thermometer to help you gauge the temperature of the oven. Check the thermometer every 15 minutes to ensure you’re close to the ideal drying temperature. Over-dried fruit leather will be brittle and crack easily, so keep checking for doneness.
- Cool. Once dry, remove the fruit leather from the dehydrator/oven and allow it to cool to room temperature. Then, peel it off the sheet and cut it into squares or long strips.
How to Store Homemade Fruit Leather and Fruit Roll Ups
- Storing at room temperature: transfer the fruit leather (or the fruit roll ups) to an airtight container and store it in a cool, ideally between 65-70°F/18.3-21.1°C, dry, dark place away from direct sunlight, moisture, and strong scents for up to 2 weeks.
- Refrigerating: transfer the fruit leather to an airtight container and refrigerate it for up to 1 month.
- Freezing: transfer the fruit leather to an airtight container and freeze it for up to 6 months.
More Dried Fruit Recipes
- Dried banana chips: recipe coming soon!
Did you make this recipe? I would love to know how it turned out! Please let me know by leaving a review and rating below.

Fruit Roll Ups
Ingredients
- 3 cups (375 g) raspberries*
- 2 tsp. (10 ml) lemon juice (optional)
Instructions
- Blend the fruit. Add the fruit to a high-speed blender and blend on high until completely smooth.
- Strain the fruit purée (optional). If you're blending fruit with a lot of seeds, such as raspberries or blackberries, use a fine mesh strainer to strain it. If you don't mind the seeds and want to keep them for extra fiber, you can skip this step.
- Spread the fruit mixture. Pour 1 cup/240 ml of the fruit mixture on a dehydrator sheet* into a ⅛-inch/0.3-cm thin layer. You can tilt the tray and/or use an offset spatula to make the layer as even as possible. You can spread the fruit mixture into a thicker ¼-inch/0.6-cm layer, but that's best for fruit strips rather than rolls. Also, a silicone mat works better than parchment paper if you don't own dehydrator sheets. The fruit purée is quite runny, which causes the parchment paper underneath to crease and makes the fruit leather crinkly and uneven in places. Do not use foil—the fruit leather will stick!
- Dehydrate. Set the dehydrator to 140ºF/60ºC and allow the fruit leather to set and dry, for 7-12 hours. You can test if the fruit leather is done by touching the center. It should feel dry or very subtly tacky, but not sticky, and it should be pliable. Be careful not to overdry it, or it will become crispy and won't roll. If the edges look like they’re getting crispy, you can cut those off later or brush them with a little water or juice during the baking process to rehydrate.
- Bake (if not using a dehydrator). The most economical way to make homemade fruit leather or fruit roll-ups is to use a dehydrator. If you don't own a dehydrator, set your oven to the lowest temperature possible – some ovens even come with a dehydrator setting. Temperatures between 135-150ºF/57-65ºC are ideal, though up to 170-180ºF/75-80ºC will work too. Avoid any temperatures above 200ºF/95ºC, though. The time to make fruit leather in the oven will vary based on the temperature and how thick your fruit puree is on the tray. As a general guideline, expect it to take between 8-12 hours at 140ºF/60ºC, 5-8 hours at 150ºF/65ºC, and 3-5 hours at 170ºF/75ºC. If the oven doesn't go low enough, crack open the oven door and use a thermometer to help you gauge the temperature of the oven. Check the thermometer every 15 minutes to ensure you're close to the ideal drying temperature.
- Cool. Once dry, remove the fruit leather from the dehydrator/oven and allow it to cool to room temperature. Then, peel it off the sheet and cut it into squares or long strips.
- Store. Leftover fruit leather keeps well in an airtight container in a cool, ideally between 65-70°F/18.3-21.1°C, dry, dark place away from direct sunlight, moisture, and strong scents for up to 2 weeks. For longer-term storage, refrigerate in an airtight container for up to 1 month of freeze for up to 6 months.

Thank you for these simple recipes that encourage me to have options to my food choices! I am trying to eat better and I need substitutes for what I am eliminating. Keep up the good work!
Thank you so much for the lovely comment, Rhonda!❤️
Can’t wait to try this recipe!
Hope you enjoy the recipe, Rhonda!
6 hours in the oven must cost a but of money and energy though no?
And you couldnt really go out during that time either im guessing.
Hi Josh – definitely. Dehydrating in the oven takes longer (than dehydrating in the dehydrator) and takes more energy. If you have a dehydrator, use it.
can we use banana ? if yes what are the other ingredients we can add ? my daughter like banana.
For sure! I have made banana fruit leather in the past (from pureed over-ripe bananas) and it’s delicious. You can make 100% banana fruit leather, or do a combo. My daughter loves strawberry banana fruit leather, for instance. I don’t add any sweetener to the banana fruit leather, but do add a splash of maple syrup to the strawberry-banana leather.
ive tried this twice but with peaches, the lowest temperature on my oven is 170 degrees F. If i leave it in the oven for more than 3 or 4 hours it gets a bunch of holes all throughout and im not sure why. I feel like i spread it out well and its thicker on the edges but they end up being really crispy and the middle isnt done. I just basically want to know whats causing all the holes in the mixture, i have been using a silpat.
Hi Kylee – if you’re getting holes, you’re spreading the fruit puree too thin. The layer shouldn’t be thinner than 1/8 inch/3.2 mm. If the edges are getting too dry, you can rehydrate them a bit by rubbing them with water. I have baked my fruit roll ups at 170 F a few times, and they usually take 5 hours to be done (at which point they are no longer sticky to the touch). Please, let me know if you have any more questions.