
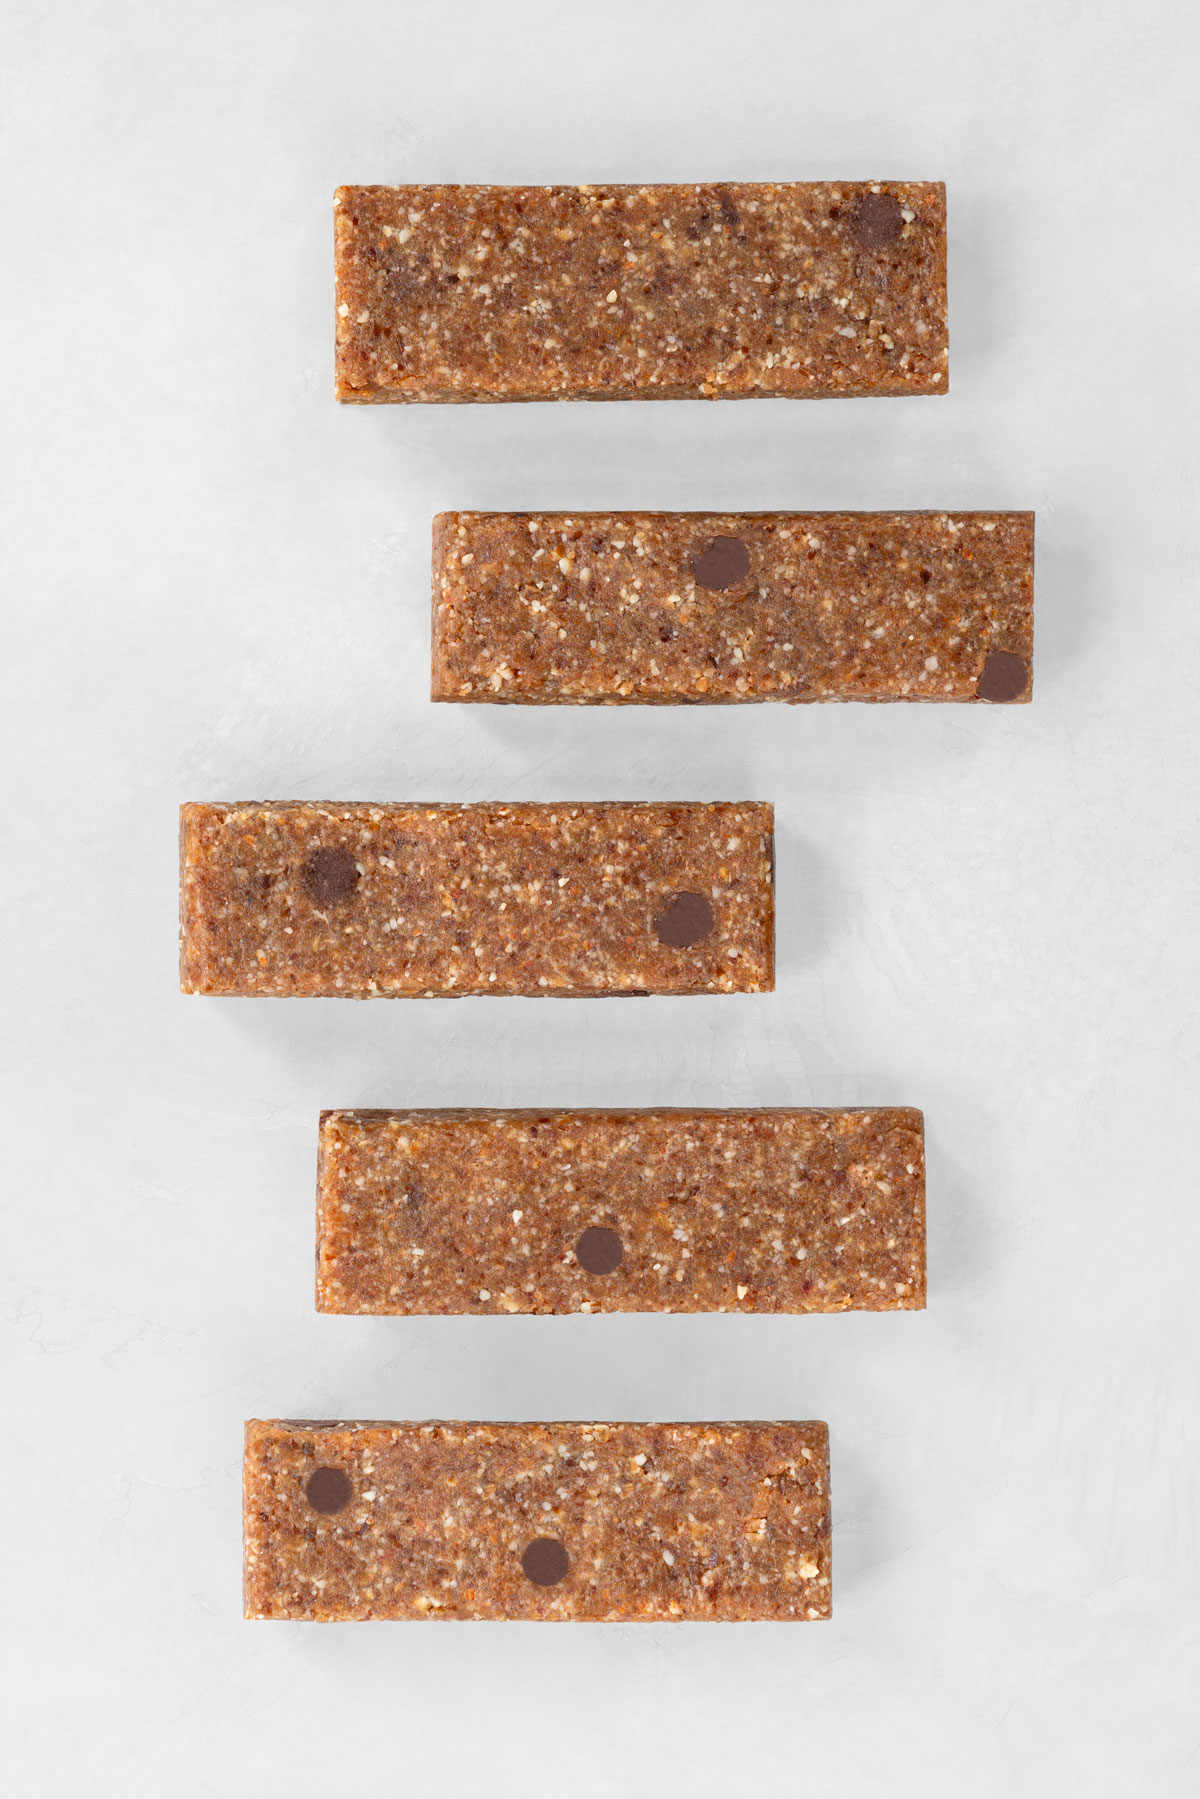
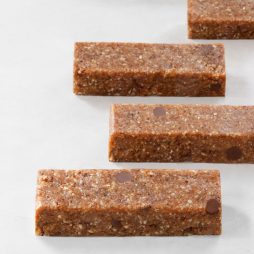
Raw Chocolate Chip Cookie Bars
Are you craving a chocolate chip cookie, like NOW? Try these raw chocolate chip cookie bars! They are perfectly sweet, buttery, and chocolaty, all at the same time. They get hard and almost crunchy in the fridge, and you can make them in only 10 minutes – so much faster than any cookies you’ve ever made! The recipe is vegan (dairy-free, egg-free), grain-free (gluten-free), soy-free, and refined sugar-free.
Just like any other raw dessert, these chocolate chip cookie bars are almost like an enigma. How can something made from nuts and dried fruit taste so delicious? These chocolate chip cookie bars are perfect for when you’re in the mood for something sweet but don’t want to inhale an entire batch of cookies.
Be careful, though. While raw desserts do use raw, unrefined sweeteners, sugar is still sugar. Dates are about as close as you can get to sugar and still call it a fruit. The fact that these bars are sweetened only with fruit doesn’t mean you can eat all of them in one sitting. If one of these bars satisfies your urge for candy or baked sweets, that’s an awesome upgrade. But if these bars become your breakfast, it might be a problem.
Tips for Making Chocolate Chip Cookie Bars
Ingredients
Even though these chocolate chip cookie bars taste like chocolate chip cookies, they’re far healthier, made with wholesome ingredients:
- Almonds and pecans: while you can use pretty much any combination of nuts in this recipe, I find that almonds and pecans complement dates perfectly. While almonds are neutral in flavor and crunchy in texture, pecans have a pleasantly sweet, rich, buttery flavor with a soft texture. Mix the two, and you get the best of both worlds.
- Medjool dates: the sweetness and stickiness of dates make it possible to make these raw bars without any other sweetener or oil. I prefer Medjool dates because they are sweet, juicy, and soft, but any dates will work in this recipe. If your dates aren’t soft, soak them in warm water for 5-10 minutes before you make the bars.
- Vanilla extract: any cookie bar needs a good-quality vanilla extract for a warm depth of flavor.
- Sea salt: a pinch of sea salt will elevate these chocolate chip cookie bars to another level. If you’re worried about your cookie bars tasting salty, don’t be. You would only taste the salt if you added too much.
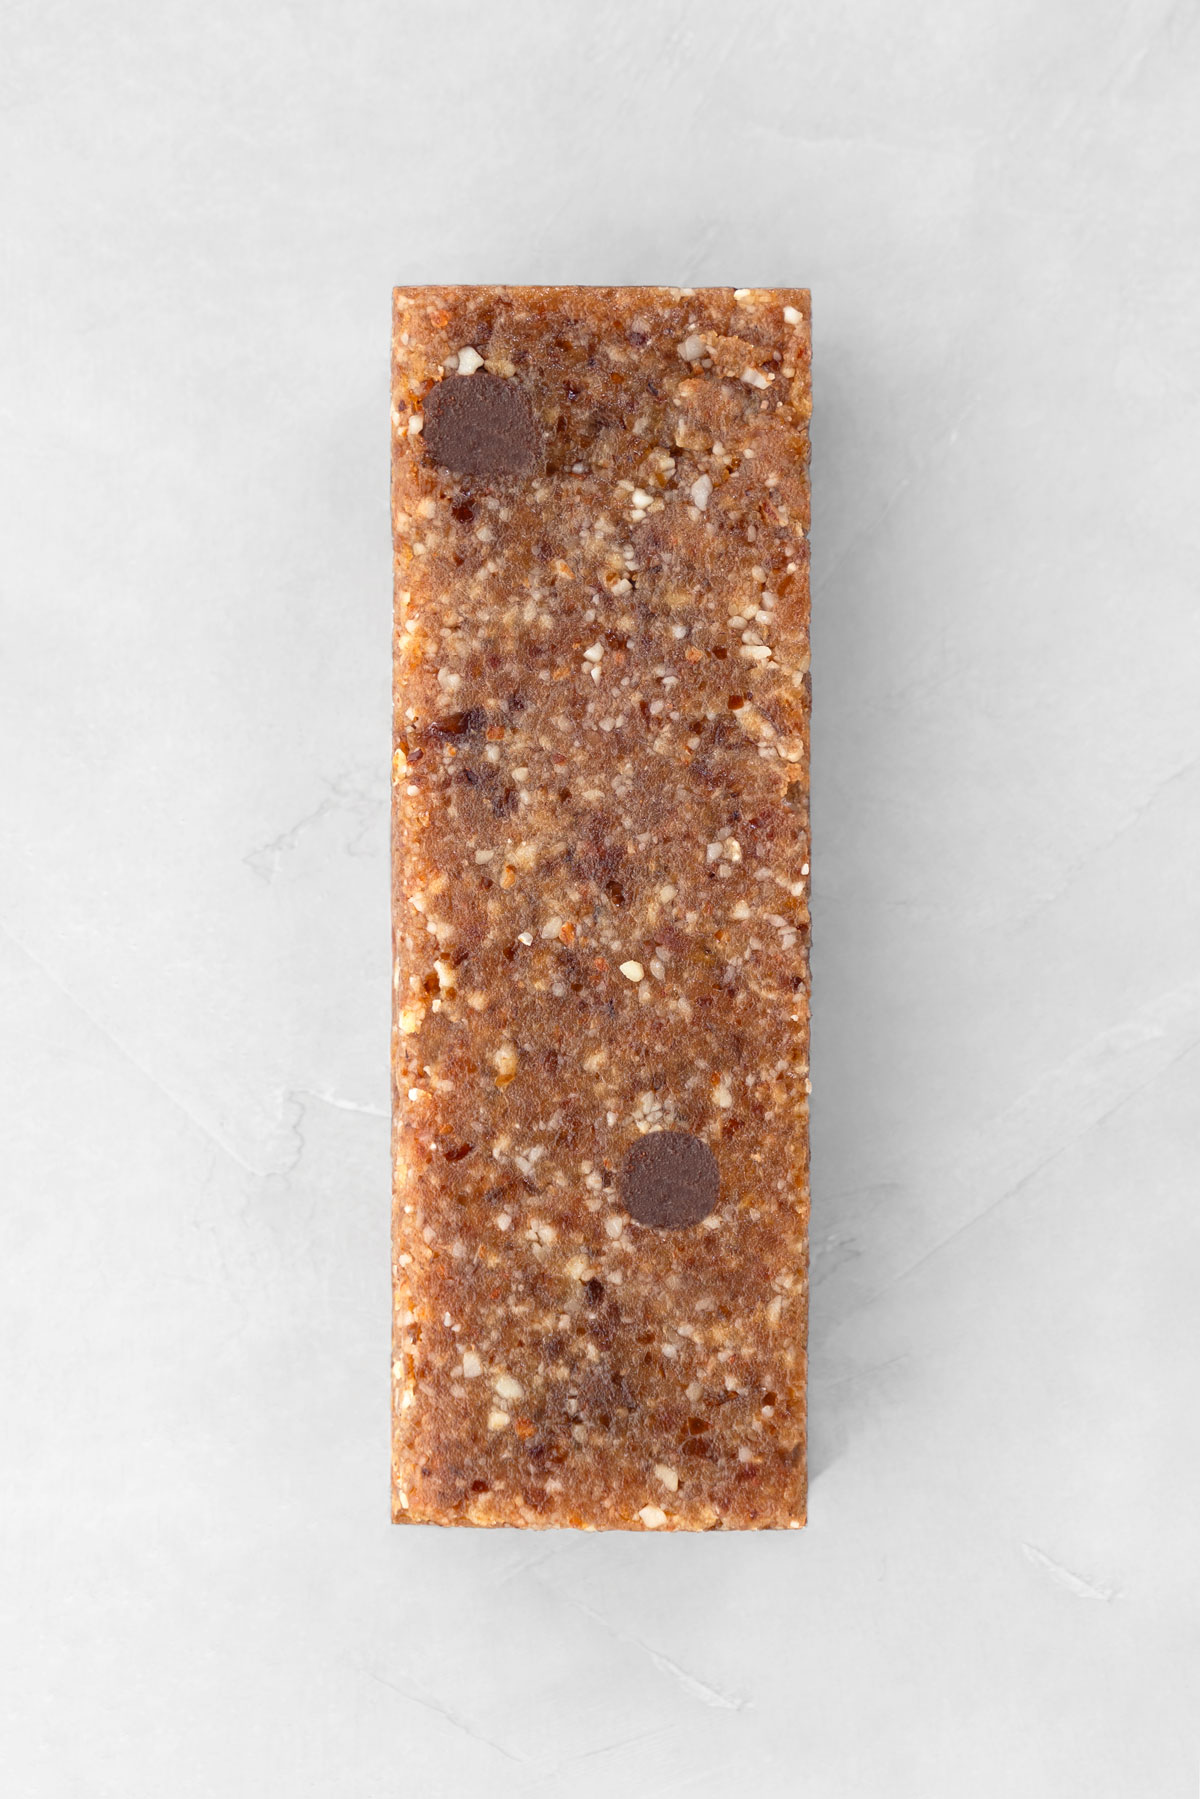
- Chocolate chips: because chocolate is healthy, right? I love mini dark chocolate chips here. A chopped chocolate bar or chocolate chunks will work if you don’t have chocolate chips handy.
How to Make Chocolate Chip Cookie Bars
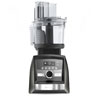
These chocolate chip cookie bars are super simple to put together. All you’ll need is a food processor and a few minutes of your time. No baking required. Whether baking intimidates you or you’re just looking for a quick, easy, and foolproof treat, this is the recipe for you! Here’s how to make these no-bake cookie bars:
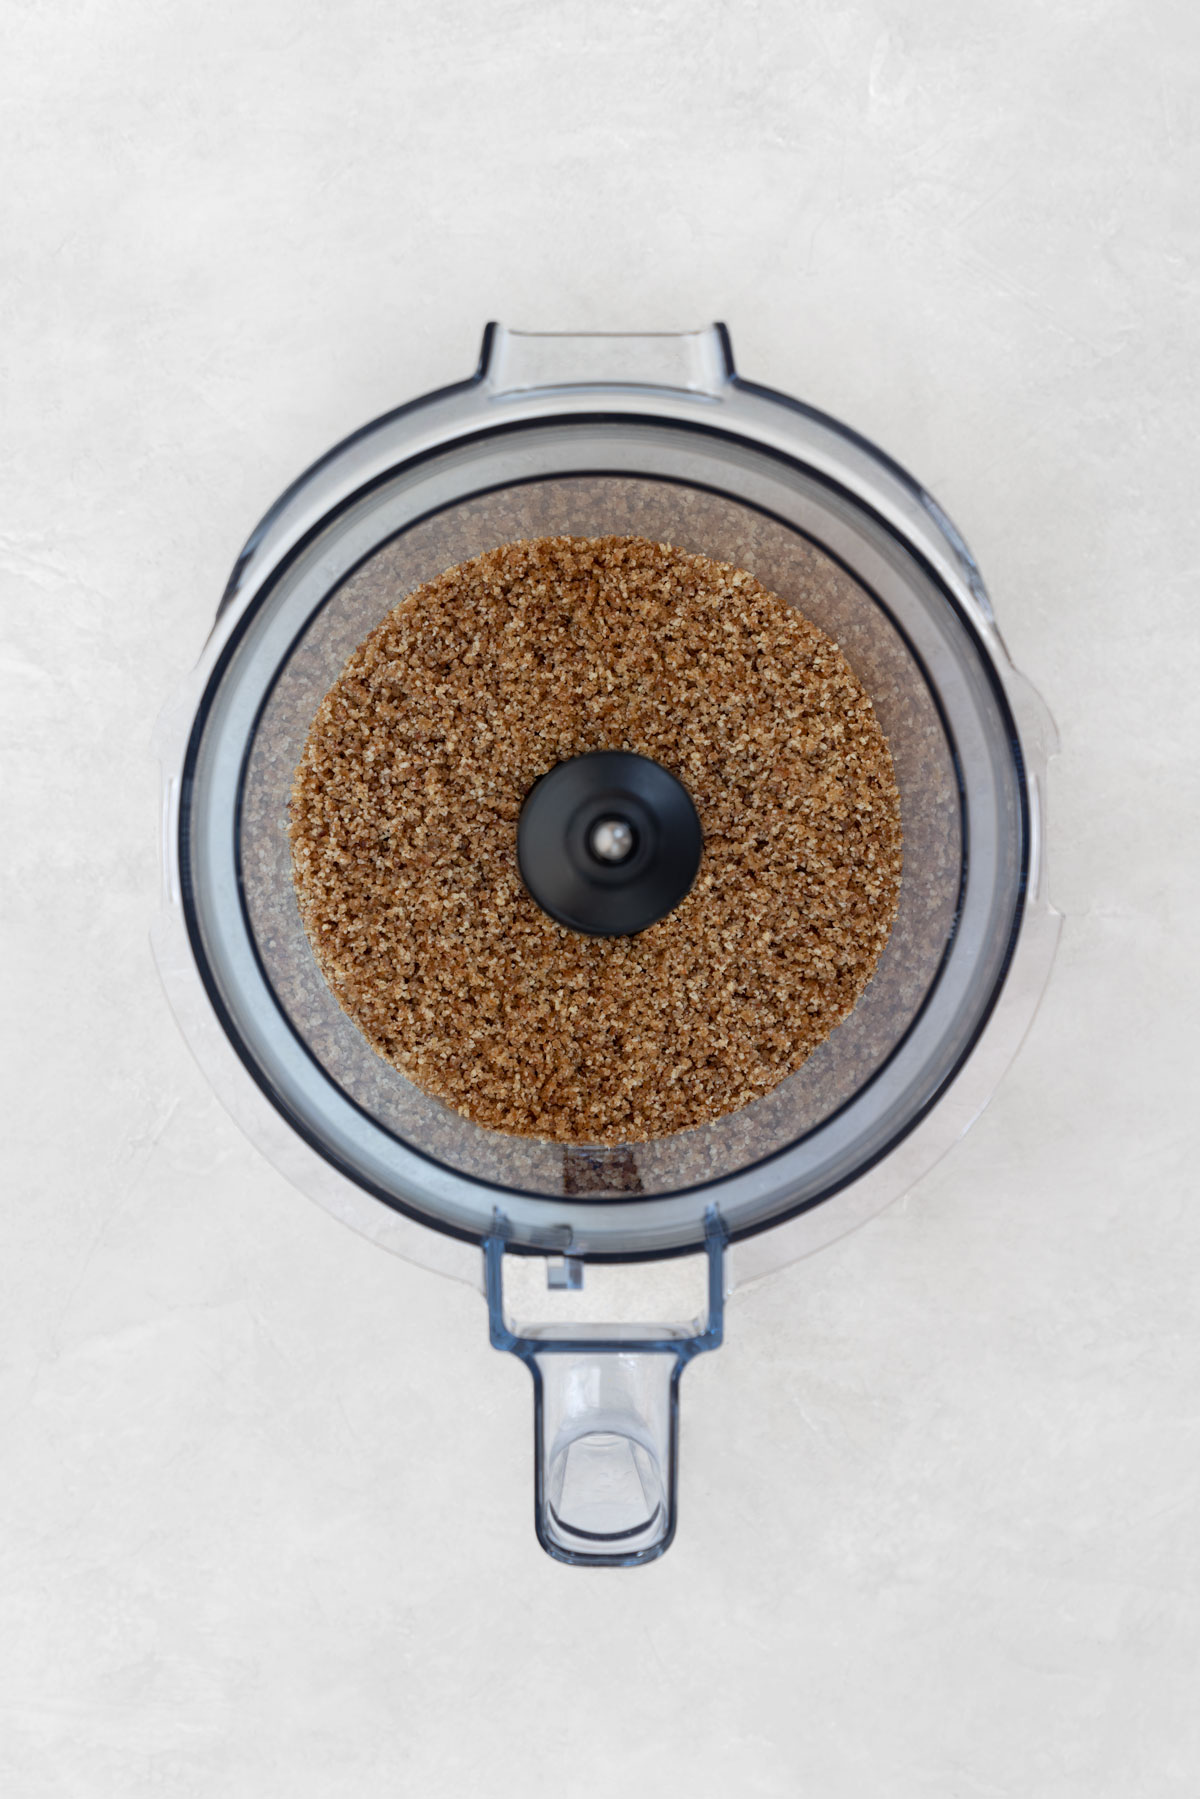
- Process the nuts. Add the almonds to a food processor bowl fitted with an S blade and process until the nuts are chopped. Add the pecans and process until the nuts are coarsely ground. Be careful not to over-process the nuts; they should retain some texture.
- Process the rest of the ingredients. Add the dates, vanilla extract, and salt to the food processor and process until all the ingredients begin to stick together. The mixture will be tender and slightly crumbly, but it should be sticky enough to hold together when you press it between your fingers. If it’s too dry, pulse it a little bit more. If it still feels dry, pulse in a little bit of water, 1 tsp./5 ml at a time. Finally, pulse in the chocolate chips.
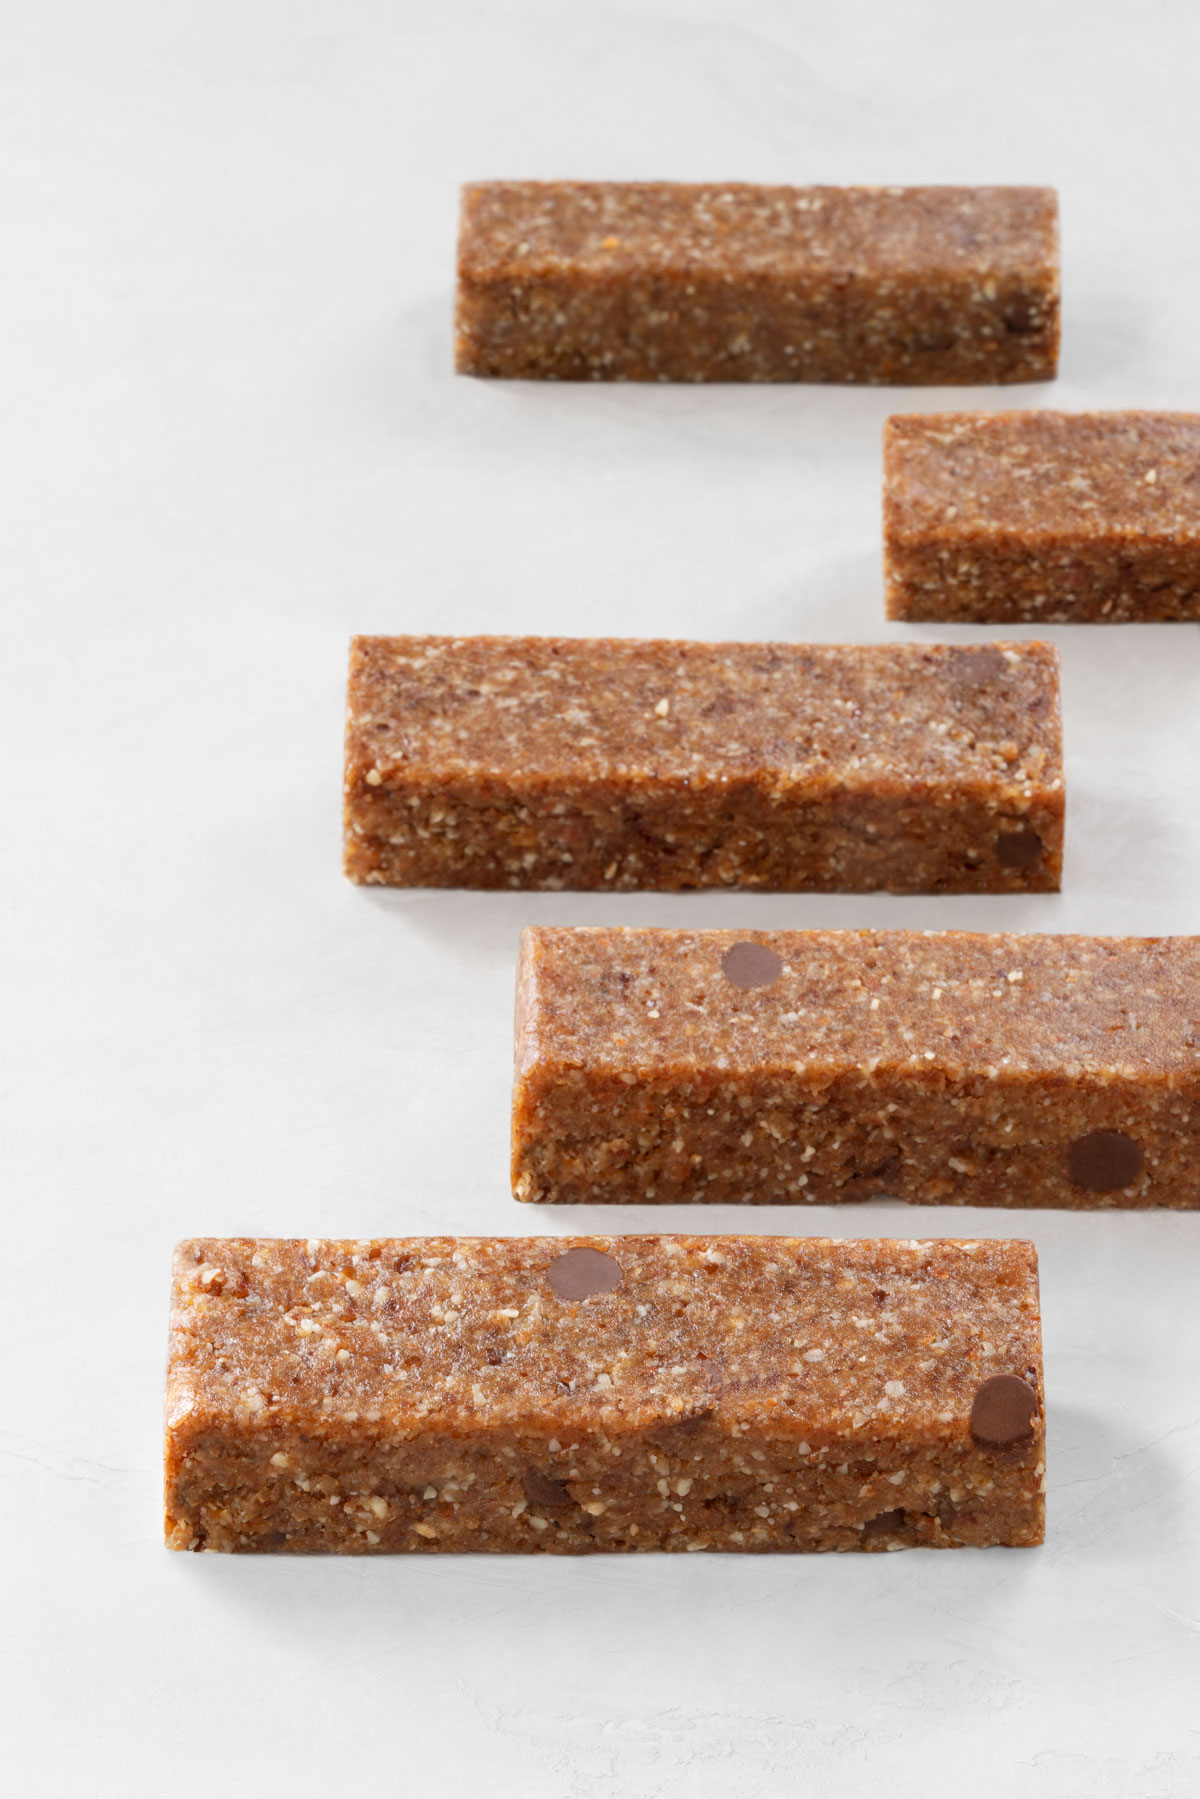
- Shape the mixture. Transfer the mixture to a parchment paper-lined baking dish and press it into a smooth, even layer. You can also roll out the mixture between two pieces of parchment paper and then shape it into a rectangle.
- Chill. Transfer the chocolate chip cookie bars to the freezer to firm up, for about 30 minutes. Once firm, remove the “bar” from the baking dish (by lifting the parchment paper) and cut it into bars.
Raw Cookie Bars Variations
I love chocolate chip cookie bars, but if you’d like to switch things up, you can try these variations next:
- Swap the chocolate chips: if you don’t like chocolate, you can mix in carob chips, peanut butter chips, dried blueberries, raisins, or shredded coconut. Just maintain the ratios in the original recipe and chop any larger mix-ins to a small size so the bars still hold together.
- Add different extracts: vanilla goes with almost any dessert, but other good options include coffee, peppermint, or even lemon.
- Make energy balls: besides mix-ins, you can roll the mixture into balls (instead of shaping the mixture into bars).
How to Store Chocolate Chip Cookie Bars
- Refrigerating: transfer the cookie bars to an airtight container and refrigerate them for up to 1 month.
- Freezing: transfer the cookie bars to an airtight container, separating each layer with parchment paper so the bars don’t stick together, and freeze them for up to 3 months.
More Raw Bars & Raw Cookies Recipes
- Larabars: homemade Larabars are a great alternative to classic energy or protein bars. They are soft, chewy, and definitely dessert-like.
- Date caramel bars:
- No-Bake peanut butter cookies: these peanut butter cookies are bursting with peanut butter flavor! They are perfectly sweet, chewy, and tender.
Did you make this recipe? I would love to know how it turned out! Please let me know by leaving a review and rating below.
Raw Chocolate Chip Cookie Bars
Ingredients
- 1 cup (200 g) Medjool dates, pitted
- 1/2 cup (72.5 g) almonds
- 1/2 cup (49.5 g) pecans
- 1 tsp. (5 ml) vanilla extract
- 1/8 tsp. (0.75 g) fine sea salt
- 1/2 cup (85 g) chocolate chips

Instructions
- Process the nuts. Add the almonds to a food processor bowl fitted with an S blade and process until the nuts are chopped. Add the pecans and process until the nuts are coarsely ground. Be careful not to over-process the nuts; they should retain some texture.
- Process the rest of the ingredients. Add the dates, vanilla extract, and salt to the food processor and process until all the ingredients begin to stick together. The mixture will be tender and slightly crumbly, but it should be sticky enough to hold together when you press it between your fingers. If it’s too dry, pulse it a little bit more. If it still feels dry, pulse in a little bit of water, 1 tsp./5 ml at a time. Finally, pulse in the chocolate chips.
- Shape the mixture. Transfer the mixture to a parchment paper-lined baking dish and press it into a smooth, even layer. You can also roll out the mixture between two pieces of parchment paper and then shape it into a rectangle.
- Chill. Transfer the chocolate chip cookie bars to the freezer to firm up, for about 30 minutes. Once firm, remove the "bar" from the baking dish (by lifting the parchment paper) and cut it into bars.
- Store. Leftover cookie bars keep well in the refrigerator for up to 1 month. For longer-term storage, freeze in an airtight container for up to 3 months.

Delicious! I subbed sunflower seeds and oats because I didn’t have any nuts. My two kids and I rolled them into balls. Thanks for the recipe!
Thank you so much for the feedback, Melissa! Rolling the “dough” into balls is a great idea 😉 So happy you liked the recipe ❤
I just discovered your site and am enjoying it. I would just like to make one suggestion. Would you please give your husband a microphone. His voice isn’t picked up very well and I have to keep turning the volume up to hear what he says, which makes your voice a bit loud and the music too loud when it starts. Hope this helps. Thanks for sharing the great recipes.
Hi Nell – thank you for your feedback! Let me know if you experience the same problem with some of the newer videos. For the last few months, I have been trying to increase Tanner’s volume at least in a post-production. We are definitely saving for another microphone, so hopefully we will be able to get one soon!
Bravo for all what you are with us…please speak more slow ….because my English no so good…
Thank you for the feedback. I will keep it in mind 🙂
Another yummy recipe. Thank you Petra. I have made this two times now. First time I didn’t pulse it enough so it didn’t look like the photo…my nuts was a bit more chunkier but it was great. Second time which was yesterday, I guess I put too many dates and also I pulsed the nuts too much so it was like mush. And didn’t hold shape when I refrigerated it. So, careful folks. Anyway, I bet the 3rd time I’ll get this right.
Thank you so much for sharing, Alexia!❤️ That’s really helpful. I would recommend pulsing the mixture in stages. You can always pulse a little more if the mixture doesn’t stick together 🙂